Table of Contents
ToggleAn outdoor play kitchen turns a yard into an adventure zone where kids cook imaginary meals while you relax nearby. Unlike indoor kitchens, these structures weather the elements and spark creativity without screen time. Whether your kids are toddlers exploring sensory play or older children hosting backyard “restaurants,” an outdoor play kitchen adapts to their age and imagination. This guide walks you through why they’re worth building, what types exist, how to choose or construct one, and how to keep it standing strong for years.
Key Takeaways
- An outdoor play kitchen encourages kids to spend more time outside, away from screens, while developing social skills, physical activity, and imaginative play.
- Outdoor play kitchens range from budget-friendly DIY builds ($200–$600) and upcycled projects to prefab wooden units ($300–$2,000) and custom structures ($1,500–$3,500), making options available for every budget.
- A working water source, storage, cooking stations, and shade or roof protection are essential features that transform basic structures into engaging, year-round play spaces.
- Building your own outdoor play kitchen requires careful planning, quality materials (pressure-treated lumber, exterior plywood, galvanized hardware), and six straightforward steps from frame construction to weatherproofing.
- Regular seasonal maintenance—including inspections for rot, resealing wood every 2–3 years, and winter protection—extends an outdoor play kitchen’s lifespan to 7–10 years or beyond.
Why Outdoor Play Kitchens Are Worth the Investment
An outdoor play kitchen encourages kids to spend time outside, away from screens and in fresh air. They develop social skills by playing together, negotiate roles (“You be the chef, I’ll be the customer”), and learn basic concepts like following recipes or managing a pretend business. Physical activity increases naturally when children move between stations, carry play food, and engage in imaginative scenarios that keep them moving.
Parents benefit too. A dedicated play kitchen gives kids a structured activity that holds their attention while you garden, entertain, or simply sit nearby with a beverage. It’s also a gathering point when neighborhood kids come over, suddenly your yard becomes the destination. Unlike expensive entertainment, a sturdy outdoor play kitchen ages with your children and eventually becomes a decorative garden feature or passes to younger siblings. The initial investment, whether $300 for a basic DIY build or $1,500+ for a premium prefab unit, spreads across years of use, making the cost-per-use quite reasonable.
Types of Outdoor Play Kitchens to Suit Your Space and Budget
Wooden Structures and Prefabricated Models
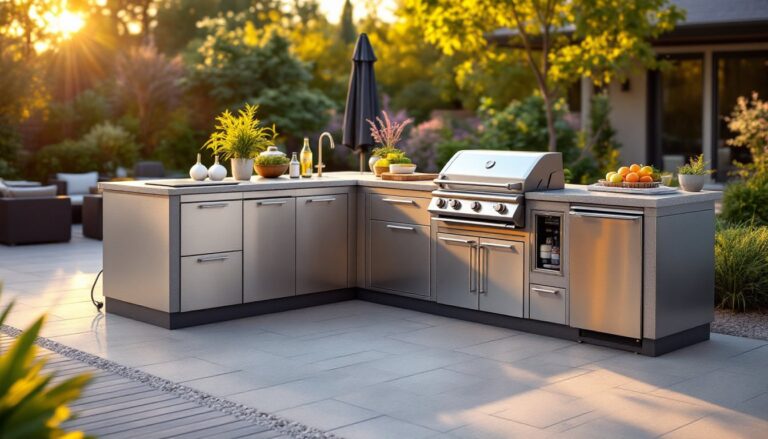
Prefabricated wooden play kitchens are the quickest route if you want a finished product delivered and assembled. Brands like KidKraft and Step2 offer designs ranging from simple single-station units ($300–$600) to elaborate multi-level kitchens with working sinks and storage ($1,000–$2,000+). These units use weather-treated wood or composite materials, arrive with hardware and instructions, and typically take 3–6 hours to assemble. The downside: they’re standardized, lack customization, and may feel small for multiple children.
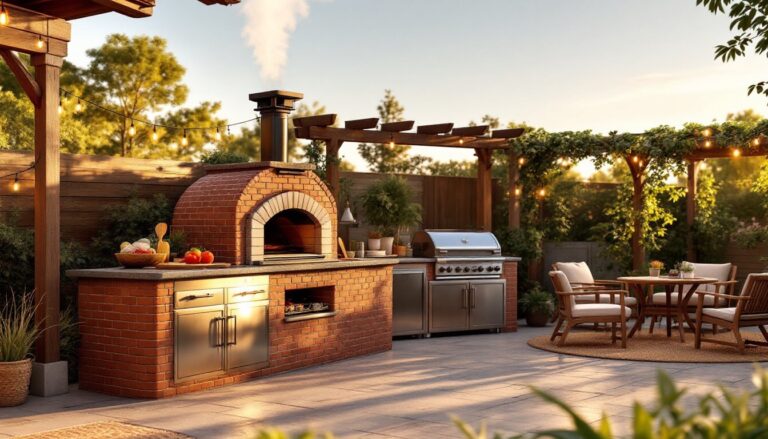
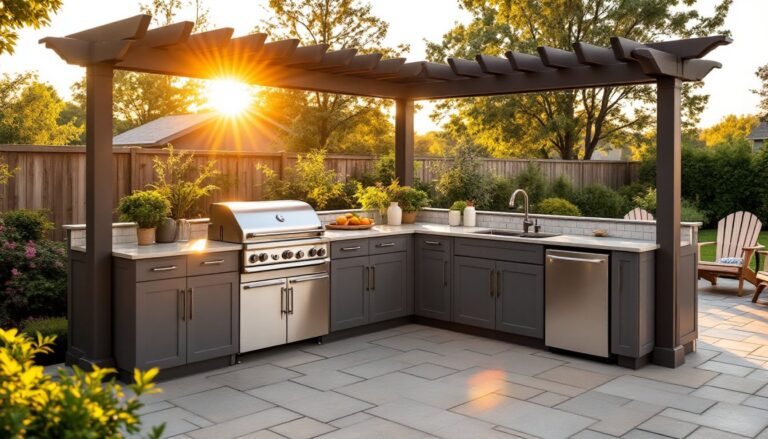
High-end custom wooden structures ($1,500–$3,500) are built by outdoor furniture makers or contractors. They’re scaled to your yard and budget, use durable materials like cedar or pressure-treated pine, and integrate seamlessly with existing landscaping. This route requires coordination and longer timelines but delivers a truly one-of-a-kind feature.
DIY and Upcycled Options
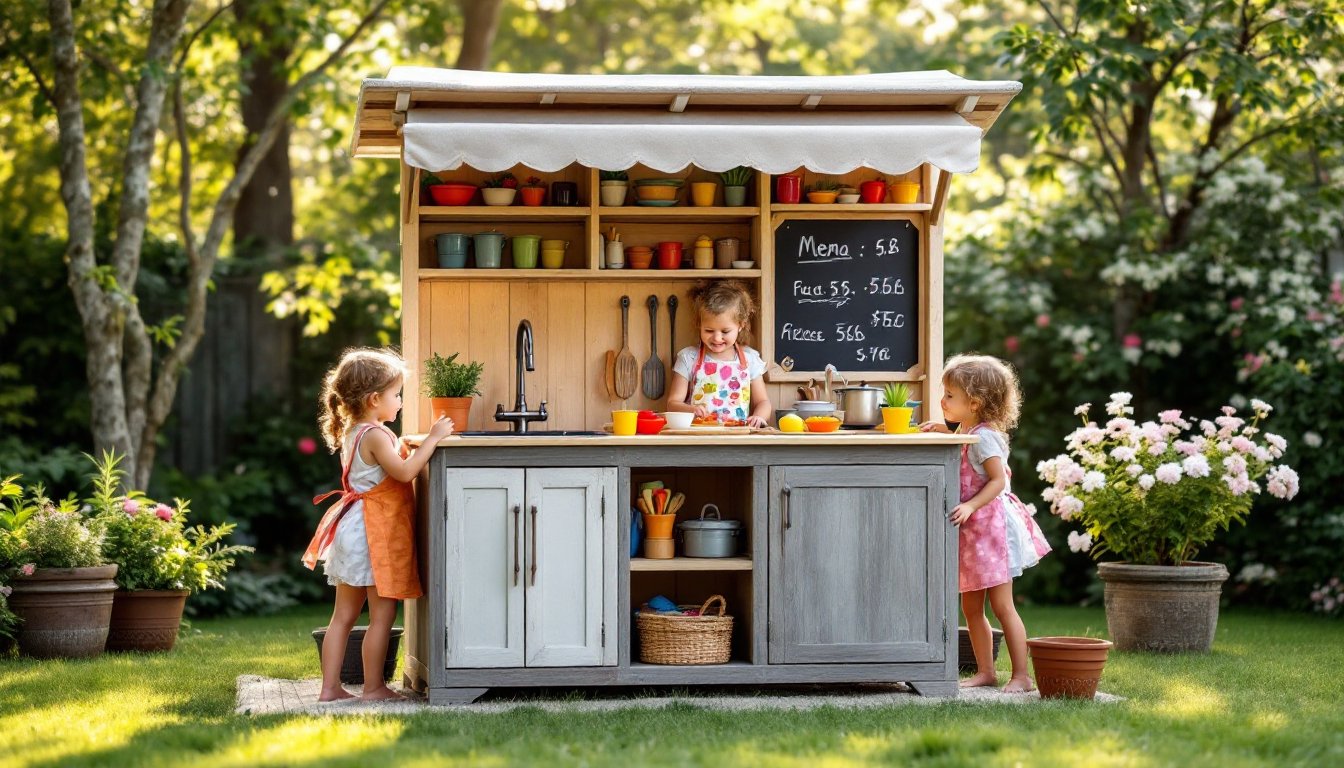
Building your own outdoor play kitchen keeps costs low ($200–$600) and personalizes every detail. A basic build uses a sturdy wooden frame (2x4s or 2x6s), plywood for surfaces, and simple components like a stainless steel sink basin, driftwood or reclaimed wood counters, and open shelving. Many DIYers source second-hand items, old kitchen cabinets, repurposed sinks, or retired wooden doors, to create a rustic, budget-friendly kitchen.
Upcycled play kitchens leverage items you already have: an old dresser with the top removed becomes a base: a wooden pallet becomes a frame: plastic bowls and spoons become serving ware. This approach teaches kids about resourcefulness and produces playhouses with character. But, upcycled builds require more planning, tools, and woodworking knowledge than assembling a prefab unit. Many builders find detailed plans on Instructables, which offers step-by-step guides, material lists, and photos from makers who’ve tackled similar projects.
Essential Features and Accessories to Include
A water source is the single most transformative feature. A working sink with a hose connection or hand pump allows children to “wash dishes” or fill cooking vessels, turning pretend play into multisensory exploration. If a plumbed connection isn’t feasible, a solar shower bag ($20–$50) or simple bucket with a tap adds function without complexity.
Storage keeps play food, utensils, and accessories organized. Built-in shelves, open cubbies, or hanging hooks prevent clutter and teach kids responsibility. A small chalkboard or whiteboard ($10–$25) becomes a menu board, encouraging imaginative writing and pricing games.
Cooking stations define the kitchen’s purpose. At minimum, include a prep surface (counter space at least 18–24 inches wide for cutting and assembling), a stove-top area (even if it’s just a painted surface with burner circles or old stove burners welded to a frame), and if budget allows, a grill or pizza oven. Movable accessories, pots, pans, dishes, plastic food, are optional at first but grow the play value over time.
Comfort features matter for extended play. A roof or shade cloth ($50–$200) keeps the kitchen usable on hot or rainy days and protects wood from weather damage. Weatherproof cushions or a nearby bench invite parents to supervise comfortably. These touches aren’t essential but significantly extend the kitchen’s seasons and daily use.
Building Your Own Outdoor Play Kitchen: A Step-by-Step Approach
Step 1: Plan and Measure
Sketch your design on paper or use a simple drawing app. Account for your yard’s dimensions, sunlight exposure, and proximity to water and electrical sources. Choose a spot with afternoon shade if possible: a kitchen in full sun becomes too hot to touch in summer. Decide on overall size, a compact unit for 1–2 kids might be 4 feet wide by 2 feet deep, while a larger kitchen for multiple children could reach 6 feet by 3 feet or more. Mark out the footprint with stakes and string.
Step 2: Gather Materials and Tools
A basic outdoor play kitchen requires pressure-treated lumber (two 2x4s and several 2x6s for framing), ½-inch exterior plywood for the top and sides, stainless steel or plastic sink basin, hinges and hardware, waterproof wood stain or paint, and fasteners (galvanized screws, which resist rust). Tools include a miter saw or circular saw, drill, level, measuring tape, and square. Woodworking resources like Fix This Build That offer detailed material lists and tool reviews for similar projects.
Step 3: Build the Frame
Construct a sturdy base using pressure-treated lumber. Cut and assemble legs, horizontal supports, and cross-bracing. A solid frame prevents wobbling and ensures child safety. Use 2-inch galvanized deck screws for all connections: they won’t corrode like regular steel fasteners. Check corners with a square and verify the frame is level before moving forward.
Step 4: Create Work Surfaces
Attach ¾-inch exterior plywood to the frame for the counter. Sand smooth to prevent splinters, then seal with waterproof stain. If adding a sink, cut an opening using a jigsaw, then fit the basin securely. Install open shelving below the counter using 2×4 cleats and additional plywood shelves. Each shelf should support at least 50 pounds distributed weight.
Step 5: Add Stove and Accessories
Mark burner locations on a central section of the counter and paint rings (using outdoor paint) or install old stove burners if you’re handy with welding. Add side panels from reclaimed wood or slatted privacy fence. Install a roof or shade cloth frame using 2×2 lumber and exterior fabric or polycarbonate panels.
Step 6: Finish and Weatherproof
Apply two coats of exterior stain or paint, sanding lightly between coats. Install a roof overhang or position under a tree to reduce direct weather exposure. Add furniture felt pads to the legs to reduce rot risk. This prevents wood from sitting on damp ground.
Maintenance and Longevity Tips for Year-Round Enjoyment
Regular maintenance extends an outdoor play kitchen’s life dramatically. Once per season (spring and fall), inspect the frame for soft wood, loose fasteners, or splintering. Sand rough spots and reapply stain or paint as needed, wood exposed to sun and rain fades and can crack without protection. Inspect hardware for rust and replace corroded bolts or hinges.
Winter storage is critical in cold climates. If your play kitchen is portable, move it to a shed or garage during off-season months. Drain hoses and close water lines to prevent freeze damage. If the kitchen is permanent, cover the sink basin and seal the top with a tarp to prevent standing water. In mild climates, focus on clearing debris from crevices and checking for rot in structural joints.
Clean regularly to prevent mold and mildew. A quick rinse with a garden hose after rain or weekly wiping removes algae buildup on wood. Ensure drainage holes or channels prevent water pooling on the counter. If you’re exploring outdoor kitchen ideas on a budget, many affordable designs include simple slope-bottoms that shed water naturally.
Protect wood finishes by applying a fresh coat of exterior stain every 2–3 years, depending on climate exposure. UV-blocking stains preserve color and prevent wood from graying. Replace soft or rotting boards immediately to maintain structural integrity and safety. A well-maintained outdoor play kitchen stays functional and visually appealing for 7–10 years or longer, eventually becoming a charming decorative garden feature when the kids outgrow it.
<h2 id="” data-id=””>Final Thoughts: Creating a Lasting Backyard Adventure
Building or purchasing an outdoor play kitchen is an investment in your children’s outdoor engagement and imaginative play. Whether you choose a prefab unit, commission a custom build, or DIY from reclaimed materials, the foundation remains the same: a dedicated space where kids gather, play, and make memories. The key is matching your choice to your budget, skills, and yard space. With proper planning, quality materials, and consistent maintenance, an outdoor play kitchen becomes a beloved backyard fixture that grows with your family and eventually tells the story of childhood summers spent outside, playing, and exploring nature’s kitchen.