Table of Contents
ToggleMost homeowners don’t realize how much activity happens around their property after dark. A night vision security camera changes that equation entirely, transforming pitch-black footage into clear, actionable video even when there’s no ambient light. Whether you’re protecting a front entrance, driveway, or backyard, understanding how night vision technology works helps you make smarter purchasing and installation decisions. This guide walks you through the fundamentals, benefits, and practical steps to set up a reliable night vision security system.
Key Takeaways
- Night vision security cameras use infrared (IR) technology to convert pitch-black footage into clear, actionable video, providing reliable 24/7 monitoring for residential properties.
- Choose cameras with at least 4MP resolution and larger sensors (1/1.8″ or bigger) to ensure facial recognition and license plate readability in low-light conditions.
- Infrared cameras typically cover 20 to 50 feet effectively and are more affordable and practical for homeowners than thermal imaging alternatives costing $1,500+.
- Proper placement at 8 to 10 feet high with a 30 to 45-degree downward tilt, combined with a clear field of view, maximizes night vision performance and deters burglaries.
- Hardwired Power over Ethernet (PoE) cameras offer superior reliability compared to Wi-Fi models, especially for outdoor installations where signal interference occurs.
- After installation, fine-tune IR brightness settings and use surge protection to optimize image quality and protect expensive equipment from electrical damage.
How Night Vision Technology Works in Security Cameras
Infrared (IR) Technology Explained
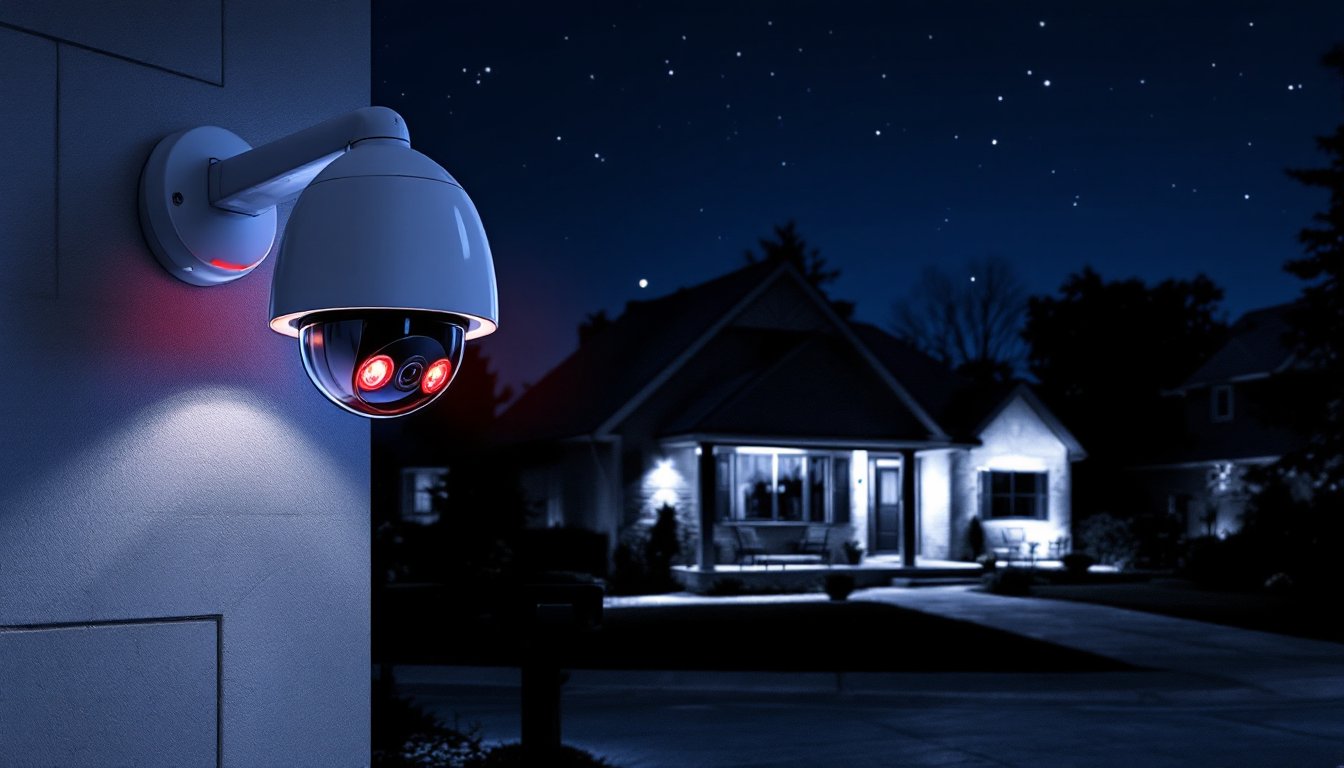
Most night vision security cameras rely on infrared (IR) light to see in the dark. Here’s how it works: the camera detects infrared radiation, heat energy invisible to the human eye, that bounces off objects around it. Built-in IR LEDs emit infrared light, and the camera’s sensor captures the reflected light, converting it into a visible image on your screen.
IR-based cameras excel at close to medium-range coverage (typically 20 to 50 feet, depending on the LED count and wattage). They’re practical for residential use because they’re affordable, widely available, and require no external light source. A best night vision security camera will balance LED power with a responsive sensor to produce clear, low-noise footage.
One trade-off: IR light reflects off glass and water, so reflections can wash out details. Positioning matters, angle cameras to avoid direct reflections from windows or puddles. Also, the infrared LEDs consume steady power, so expect higher electricity use than daytime-only cameras.
Thermal Imaging vs. Infrared: What’s the Difference
Thermal cameras and IR cameras are often confused, but they work differently. Thermal imaging detects actual heat emissions from living things and warm objects, think of it as reading a temperature map. A thermal camera doesn’t need IR LEDs because it’s directly sensing the thermal signature of a person, animal, or engine.
Infrared cameras, by contrast, are passive light reflectors, they bounce IR light off objects to create an image, much like a flashlight beam. Thermal cameras detect heat directly, making them excellent for detecting intruders even in complete darkness and through some obstructions. But, they cost significantly more (often $1,500 to $5,000+ per unit) and are overkill for most residential security.
For a typical homeowner, an IR night vision camera strikes the right balance of performance and affordability. Thermal makes sense if you’re monitoring large properties, rural areas with no power infrastructure, or situations where false alerts from moving vegetation or reflections are problematic.
Key Benefits of Adding Night Vision to Your Home Security Setup
Night vision transforms your security from a daytime-only system into 24/7 coverage. Most burglaries and thefts happen under cover of darkness, so video clarity at night is just as critical as daytime footage.
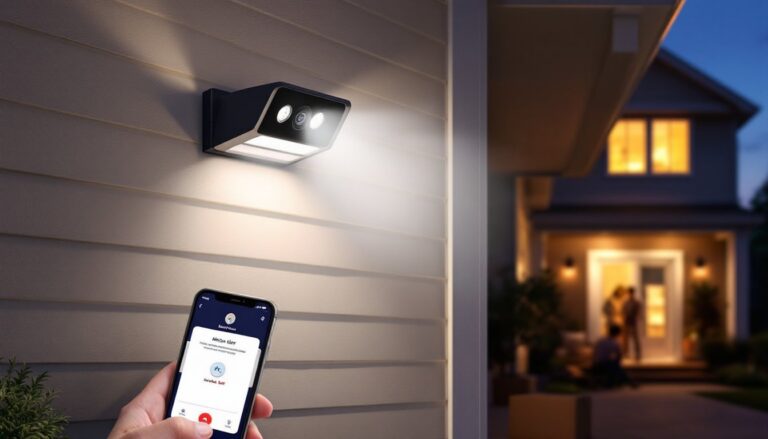
Continuous monitoring means you’re never blind to what’s happening on your property. Cloud storage or local backup ensures you have evidence if an incident occurs. When paired with motion detection, night vision cameras can send instant alerts to your phone, giving you real-time awareness even when you’re away.
The best outdoor night vision security camera provides consistent frame rates and resolution at night, not the washed-out, grainy mess some budget models produce. Good night vision means facial features remain recognizable, license plates stay readable, and clothing colors are distinguishable, all critical for insurance claims or police reports.
Night vision also acts as a visible deterrent. A camera with illuminated IR LEDs signals to potential intruders that the property is monitored. Many homeowners report fewer attempted break-ins simply because cameras are visible and obviously active at night.
Also, night vision cameras log normal nighttime activity, delivery drivers, neighborhood residents, wildlife, creating a baseline of what “normal” looks like. When something unusual happens, it stands out. This contextual awareness often prevents false alarms from triggering unnecessary police response.
Choosing the Right Night Vision Camera for Your Home
Start by identifying what you need to monitor. A front entrance has different requirements than a backyard corner or a driveway. Distance matters: IR LEDs typically cover 20 to 50 feet effectively, so measure from the camera location to the farthest point you want to see clearly.
Resolution and sensor size directly impact night vision quality. A 2-megapixel camera captures fewer details than 4MP or higher, especially at night when every pixel counts. Larger sensors (1/1.8″ or bigger) gather more light than cramped sensors, producing clearer images with less digital noise.
When comparing options, check the IR LED specifications. More LEDs and higher wattage extend effective range, but they also increase power consumption. A good starting point for residential use is 8 to 12 IR LEDs rated at 850 nm (nanometers), which strikes a balance between range and efficiency.
Consider your internet connection. Wired cameras (Power over Ethernet) are more reliable than Wi-Fi, especially outdoors where signal can be weak or interference occurs. If Wi-Fi is your only option, position the camera close to your router or invest in a mesh Wi-Fi system. According to recent reviews of top outdoor security cameras, reliability and night vision performance are the most-cited factors in customer satisfaction.
Storage is another key decision. Cloud subscriptions offer convenience but ongoing costs. Local storage (microSD card or NVR) means no subscription fees, but requires manual backup and offers limited capacity. Many homeowners use both, local storage for recent events and cloud backup for archival.
Finally, check weatherproofing ratings. Look for IP67 or IP68 (dust-proof and water-resistant to various depths). If the camera sits under an eave, IP65 may suffice. Exposed locations need maximum protection.
Installation Tips for Optimal Night Vision Performance
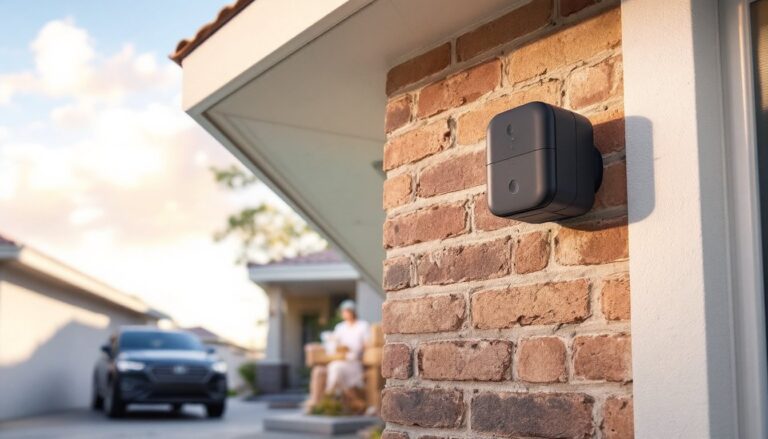
Placement is everything. Mount night vision cameras 8 to 10 feet high, high enough to avoid tampering and low enough for facial recognition. Avoid pointing cameras directly at light sources (porch lights, street lamps) because glare washes out the IR image.
Angle matters significantly. Aim for a 30 to 45-degree downward tilt toward the area you want to monitor. Straight-ahead angles miss activity directly below the camera, while overly steep angles lose detail at the perimeter.
Clear the field of view of obstructions. Trim branches, move planters, and remove anything that blocks the camera’s line of sight. Even small obstacles create shadows where intruders can hide undetected.
If you’re using wireless cameras, test signal strength before final installation. Walk the area with your phone and check your router’s Wi-Fi strength. Thick walls and distance degrade signal: if you’re in a dead zone, run ethernet cable or relocate the router.
Power management is practical: Hardwired PoE cameras are ideal because they draw consistent power through the same cable as the signal. If you’re using battery cameras, note that night vision drastically reduces battery life, expect 3 to 6 months instead of a year between charges, depending on activity level.
Focus and adjust IR settings after installation. Most cameras let you tweak IR brightness and enable/disable IR LED mode. At night, step outside and check the live feed from your phone. If the image is too dark, increase IR strength: if it’s washed out and grainy, dial it back. Temperature affects IR performance too, cold weather can slightly reduce LED efficiency, so minor adjustment may be needed seasonally.
For permanent outdoor installations, recent smart home technology coverage emphasizes the importance of adequate surge protection. Use a weatherproof outdoor power strip with surge protection on any hardwired camera, lightning or power surges can fry expensive equipment.
Conclusion
Night vision security cameras are no longer luxury additions, they’re essential for comprehensive home protection. By understanding infrared technology, choosing the right camera for your specific coverage needs, and installing it thoughtfully, you gain reliable 24/7 monitoring that deters crime and provides clear evidence if needed. Start with one camera on your highest-risk entry point, test the setup for a few weeks, then expand. The investment pays dividends in peace of mind and property security.