Table of Contents
ToggleA security light with camera combines two essential home protection features into one intelligent fixture. Whether you’re concerned about package theft, unauthorized entry, or simply want a clearer view of what’s happening around your property at night, these hybrid devices deliver both illumination and surveillance in a single installation. They’re becoming the go-to choice for homeowners who want practical security without the complexity of managing separate systems. This guide walks you through what to look for, where to install them, and how to keep them running smoothly.
Key Takeaways
- A security light with camera combines motion-activated illumination and video recording in one fixture, eliminating the need for separate electrical circuits and simplifying installation for homeowners.
- Choose units with adjustable motion detection (15–30 feet), 1080p or higher video resolution, IP65+ weather rating, and strong night vision to ensure reliable facial recognition and weather protection.
- Install your security light with camera 8–12 feet high at entry points like front doors, side gates, and driveways, avoiding glare-prone locations and respecting neighbor privacy.
- Hardwired models provide permanent, uninterrupted power and faster installation, while wireless options offer flexibility but require strong WiFi signals within 30 feet of your router.
- Maintain your fixture quarterly by cleaning the lens with distilled water, updating firmware monthly to patch security vulnerabilities, and inspecting weather seals after storms to ensure 5–10 years of reliable performance.
- A mid-range security light with camera from a reputable brand with a 3-year warranty delivers better long-term value than budget models that often compromise on weather sealing and lens quality.
What Are Security Lights With Cameras and Why You Need One
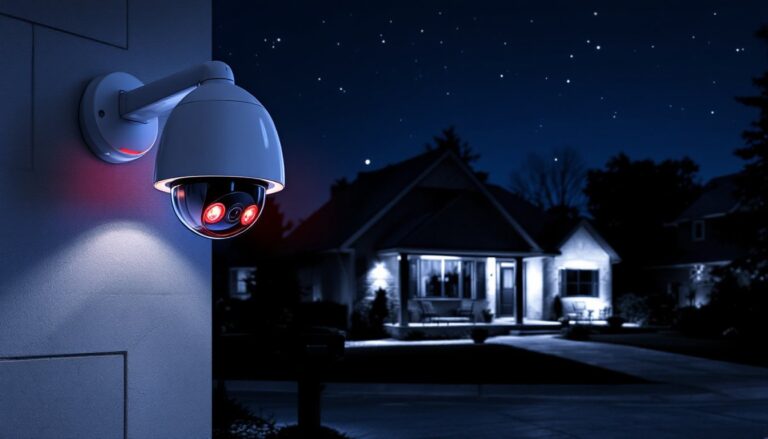
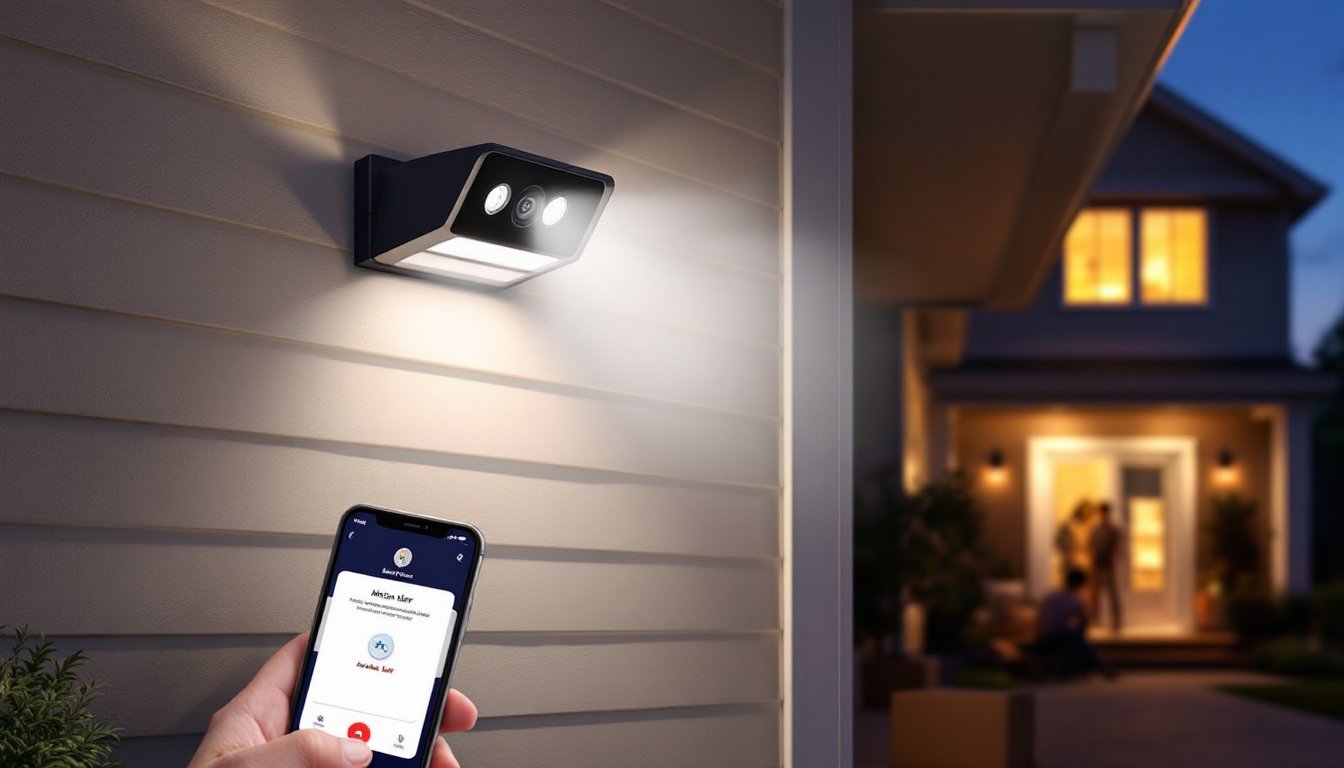
A security light with camera is exactly what it sounds like: a fixture that combines motion-activated floodlighting with a built-in video camera. When motion triggers the light, it simultaneously starts recording and sends an alert to your smartphone. Unlike traditional security cameras that rely on passive infrared sensors, the integrated light serves as both a deterrent and a practical illumination source for your yard or entryway.
Why consider one? These fixtures eliminate the need to run separate electrical circuits for dedicated security cameras and floodlights. You get crystal-clear video even in low light because the camera has a dedicated light source just inches away. Installation is simpler, one junction box, one set of connections, and one device to manage.
Key Features to Look For
When evaluating a wireless outdoor security camera with motion light, check these essentials:
- Motion Detection Range: Look for adjustable sensitivity (15–30 feet is typical for residential use). Some devices let you mask off areas, like a neighbor’s driveway, to avoid false alerts.
- Video Resolution: 1080p is the minimum for readable detail: 2K or higher gives you better facial recognition and license plate clarity.
- Night Vision Quality: Infrared (IR) modes are standard, but ensure the integrated light fills the frame evenly. Poor IR coverage leaves dark corners.
- Weather Resistance: IP65 or higher rating means dust and water won’t disable the camera. Check that seals around the lens are gasket-lined, not just molded plastic.
- Power Source: Battery-powered models offer installation flexibility but require regular charging. Hardwired models plug into existing outdoor circuits and never die mid-event.
- Cloud Storage or Local: Decide if you’ll save footage to the cloud (requires a subscription) or to an SD card inserted into the fixture itself.
Top Benefits for Your Home
Installing a security light with camera provides real, measurable peace of mind. Homeowners using these fixtures report fewer package thefts, unauthorized entries, and trespassing incidents. The combination of visible light and the knowledge that a camera is recording creates a psychological barrier for anyone with ill intent.
From a practical standpoint, you’re solving two problems at once. That dark corner by your side gate now gets proper illumination for late-night trips to the trash bin, while simultaneously recording anything unusual. The motion activation saves you from leaving floodlights on all night, reducing energy costs by 30–50% compared to always-on fixtures.
Integration with smart home systems is another advantage. Many modern units connect to platforms like Amazon Alexa or Google Home, allowing you to check live feeds, adjust sensitivity, or even manually trigger the light from anywhere. Recent outdoor security camera reviews show that unified platforms and two-way audio features are becoming standard, making these devices even more responsive to your needs. Two-way audio lets you speak through the speaker, useful for telling a delivery driver where to leave a package or discouraging a suspicious visitor.
Installation Tips for Homeowners
Most homeowners can install a hardwired security light with camera in 1–2 hours, provided power is already available at the location. If you’re running new electrical from your panel, you’ll need to pull a permit and may want a licensed electrician to handle the circuit breaker work, local codes vary, and improper installation is a fire hazard.
Start by turning off power to the circuit you’re working on at the breaker panel. Test it with a multimeter to confirm it’s dead. Mount the fixture body on a solid surface, typically a soffit, fascia, or wall stud using the included L-bracket. Ensure it’s level: a tilted camera distorts the field of view.
Run your electrical conduit (typically ½-inch schedule 40 PVC for exterior installations) from the junction box to the fixture. Use NM cable rated for outdoor use, or THHN/THWN wire inside the conduit, never direct burial. Follow smart home security best practices for network setup: use a strong WiFi password, enable two-factor authentication on the camera app, and keep firmware updated.
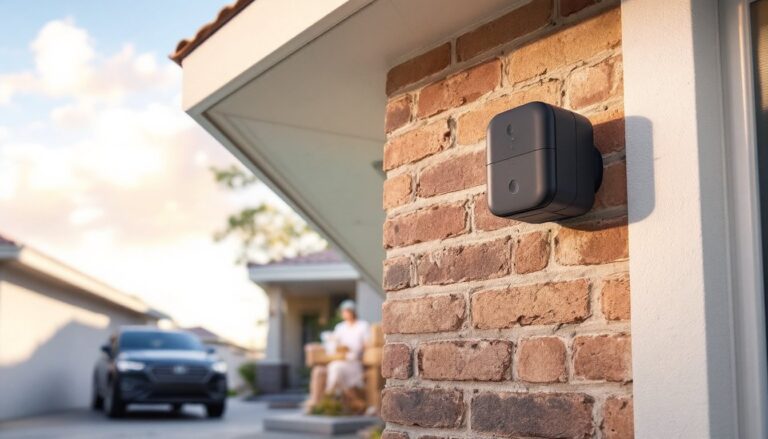
For wireless models, placement is even more critical because signal strength matters. You’ll want a clear line-of-sight to your WiFi router, ideally within 30 feet. A weak signal causes delayed alerts and dropped recordings.
Best Placement Locations Around Your Property
Choose locations that maximize both detection and deterrence:
- Front Door: Mount 8–10 feet high and slightly offset to one side so visitors can’t look directly into the lens. Captures faces and package deliveries clearly.
- Garage Corners: Mount near the corner where the garage meets the house siding. Catches vehicle approaches and side yard activity.
- Back Patio or Deck: Height of 7–9 feet covers the patio and detects approach from the yard. Avoid pointing directly at neighboring properties to respect privacy.
- Side Gates or Yards: Position to cover the approach to a gate, not the view through it. Deters trespassing while recording unauthorized entry attempts.
- Driveway Approach: Mount on a post or gable end 10–12 feet high for a wide overview. Captures vehicles and people approaching the property.
Avoid mounting directly above a light fixture or reflective surface, glare washes out the image. Test the camera’s field of view using the live feed before locking everything down. Some fixtures offer 110–120-degree fields of view: others are narrower. Know your coverage zone before final installation.
Maintenance and Care Guide
A well-maintained security light with camera will run reliably for 5–10 years. Quarterly checks take just 15 minutes and prevent most failures.
Cleaning: Use a soft, lint-free cloth and distilled water to wipe the lens every three months. Accumulated dust, pollen, and bird droppings reduce image clarity. Never use vinegar or harsh cleaners: they can damage lens coatings. For hardwired units, check that no moisture has accumulated inside the fixture housing, if you see condensation, the gaskets may be degrading.
Firmware Updates: Most units push updates automatically via WiFi, but check your app monthly to confirm you’re running the latest version. Updates patch security vulnerabilities and add new features. A camera running outdated firmware is a network risk.
Weather Sealing: After heavy storms or at the start of winter, inspect the junction box and cable connections. Look for any gaps where water could enter. Silicone caulk (exterior-grade, paintable) works well for sealing minor gaps. Re-seal around the mounting bracket if you notice any water staining.
Battery-Powered Models: Charge the battery fully before the heating season begins. Cold weather reduces battery life by 20–30%, so a spring charge may not last through fall. Most lithium-ion batteries in these fixtures last 2–3 years before needing replacement.
Cloud Storage Subscription: If you’re paying for cloud backup, review your footage retention policy. Many services keep 24–30 days of recorded events. If you need longer retention, budget for a higher subscription tier or switch to local SD card storage.
Recent product reviews from technology experts emphasize that the cheapest units often cut corners on weather sealing and lens quality, leading to premature failure. A mid-range fixture from a reputable brand with a 3-year warranty provides better long-term value than a $50 knockoff.
Conclusion
A security light with camera is one of the most practical investments a homeowner can make. It delivers clear video documentation, adds visible deterrence, and provides functional illumination, all from a single, relatively affordable fixture. Whether you choose a hardwired model for permanent coverage or a wireless outdoor security camera with motion light for flexible placement, the key is selecting a unit rated for your climate and installing it where it covers your home’s most vulnerable entry points. Keep it clean, update its firmware regularly, and you’ll have a reliable security tool that pays dividends in peace of mind.