Table of Contents
ToggleAn outdoor mud kitchen isn’t just for toddlers anymore, it’s become a smart investment in creative outdoor play that keeps kids engaged, entertained, and away from screens. Whether you’re building for a preschooler’s imaginative games or a family who loves cooking and messy experimentation together, a mud kitchen turns a corner of your yard into a functional, nature-based learning space. The good news? You don’t need advanced carpentry skills or a massive budget. This guide walks you through building a durable outdoor mud kitchen from foundation to finishing details.
Key Takeaways
- An outdoor mud kitchen is a low-height, nature-based learning space that encourages sensory play, fine motor skill development, and creative problem-solving while keeping kids engaged away from screens.
- Choose a location with partial sun and level ground near a water source and visible from indoors, and plan dimensions around 3 feet wide by 20 inches deep, scaled to your children’s ages (20–22 inches for toddlers, 24–28 inches for older kids).
- Building a durable outdoor mud kitchen requires basic materials like lumber, plywood, exterior screws, and sealant costing $200–$350, with most DIY projects completed in a weekend using just a drill, saw, and level.
- Apply water-based exterior stain or polyurethane in two coats, add optional side panels to contain spilled soil, and include storage solutions like shelves or pegboards to keep tools organized and accessible.
- Maintain your mud kitchen by inspecting wood monthly for rot, reapplying sealant every 12–18 months, and ensuring the structure is stable and won’t tip—especially important for supervising young children safely.
What Is an Outdoor Mud Kitchen and Why Your Family Needs One
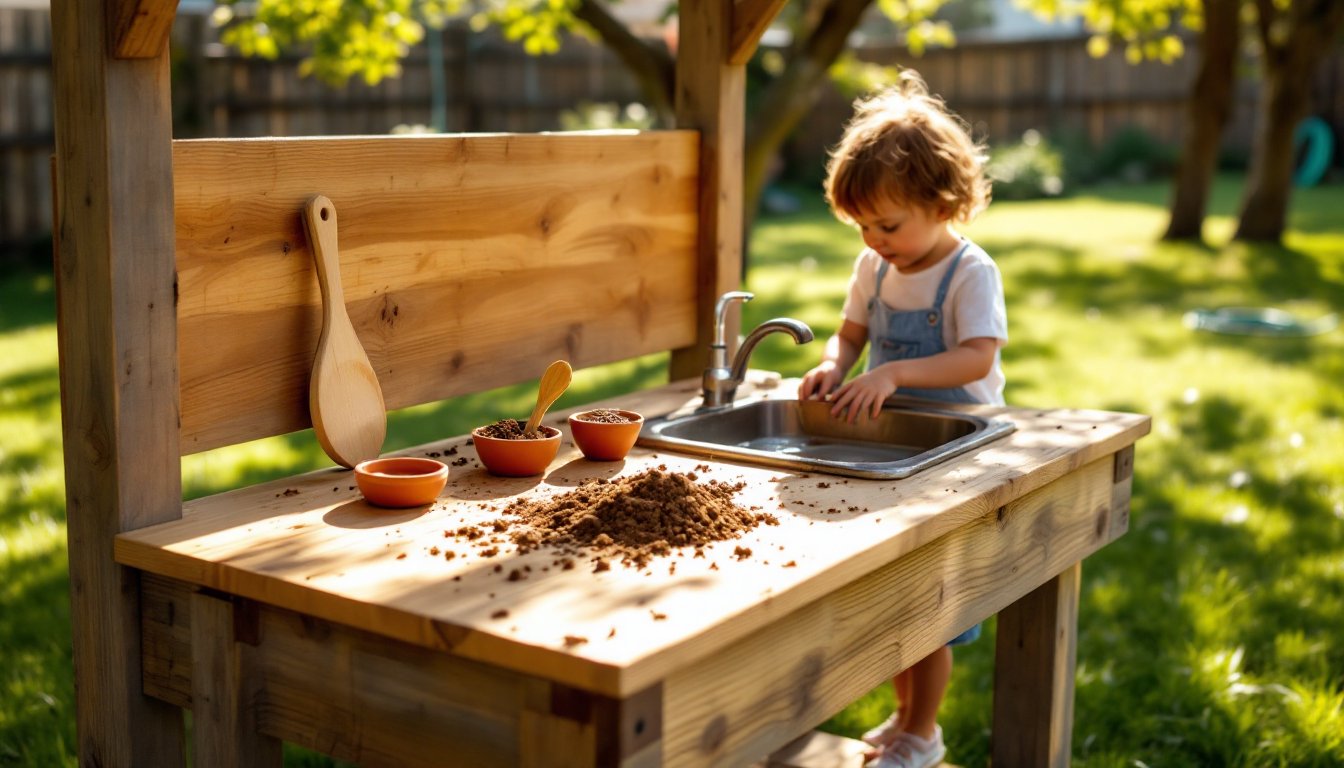
A mud kitchen is a low-height outdoor countertop setup where kids can mix, mash, and create with soil, water, sand, and found materials. Think of it as a sandbox’s sophisticated cousin, it combines sensory play with pretend cooking in one weatherproof station.
Why build one? Kids develop fine motor skills, problem-solving abilities, and confidence through open-ended play. Unlike screen time, mud kitchens encourage boredom-busting creativity and outdoor activity. Parents appreciate that the mess stays contained in one zone of the yard, and cleanup is as simple as rinsing off.
The structure typically includes a work surface (like a counter), a water source or basin, and storage for tools and materials. Most backyard versions stand between 18–28 inches tall, scaled to children’s heights so they can reach comfortably without adult lifting.
Planning Your Mud Kitchen: Location, Size, and Layout
Choosing the Right Spot in Your Yard
Location makes or breaks a mud kitchen’s success and longevity. Pick a spot with partial sun, full shade keeps it cold and muddy year-round, while full sun can bake the work surface uncomfortably hot in summer. Look for level ground to avoid water pooling or wobbly countertops. Ideally, position it near a water source (garden hose or outdoor spigot) so refilling and cleanup don’t require hauling buckets across the yard.
Consider visibility from your kitchen or patio so you can supervise while cooking or working indoors. Avoid spots directly under trees where falling leaves and branches become ongoing maintenance headaches. If your yard slopes, a small pad or retaining wall can level the footprint without major excavation.
Determining Dimensions and Design
For toddlers and preschoolers (ages 2–5), a counter height of 20–22 inches works well. For older kids (6+), aim for 24–28 inches. Width typically ranges from 2–3 feet, and depth from 18–24 inches, shallow enough for safe access but deep enough for bowls and activity. Most DIY builds measure around 3 feet wide by 20 inches deep, which feels spacious without dominating the yard.
Sketch your design on paper first. Decide whether you want a single counter, an L-shape, or a wraparound. A single counter is fastest to build and move if needed. An L-shape or wraparound adds workspace and visual interest but requires more materials. For a first project, start simple, a single straightforward counter teaches you the process and leaves room to expand later. Rough dimensions of 3 feet × 20 inches × 24 inches tall is an excellent starter size.
Essential Materials and Tools You’ll Need
Materials:
• Lumber: Two 2×8 boards (8 feet long) for the frame sides, four 2×4 boards (6 feet long) for front/back and supports, one sheet of 3/4-inch plywood for the countertop, 2×6 lumber for side panels (optional but recommended for durability)
• Hardware: 3-inch exterior wood screws (box of 50), 2-inch exterior screws for assembly, galvanized corner braces (4-pack), L-brackets for reinforcement
• Finish: One quart of exterior wood stain or sealant (water-based is easier to apply and safer for kids), paint thinner if needed
• Accessories: One metal basin or basin insert (approximately 18 inches diameter) for the water feature, cedar shims for leveling, landscape fabric (optional, to separate soil from wood)
Tools:
• Drill-driver (cordless is fastest)
• Circular saw or miter saw for cutting lumber to length
• Level (24-inch is ideal)
• Tape measure
• Pencil
• Adjustable wrench for tightening hardware
• Paintbrush or roller for sealant application
• Safety gear: work gloves, safety glasses, dust mask (for sawing), hearing protection
Budget roughly $200–$350 for materials, depending on lumber prices in your region and whether you buy pressure-treated or cedar. Pressure-treated lumber costs less but takes longer to dry after rain: cedar resists rot naturally but costs more upfront. Both work fine for a mud kitchen.
Step-by-Step Construction Process
1. Prepare and Level the Site
Clear the area of grass, rocks, and debris. Check for level using a 24-inch level: shimming with cedar shims under each corner as needed. A slight slope for water drainage is acceptable, but the counter itself should be level or kids’ bowls will spill.
2. Build the Frame
Cut your 2×4 lumber to 24 inches for the front and back supports. Arrange two 2×8 boards (about 3 feet apart) as the side rails. Position the 2×4 supports perpendicular at the front and back, then attach using 3-inch exterior screws, two screws per joint, drilled through the 2×8 into the ends of the 2×4. Add a center 2×4 support running front-to-back for extra rigidity. Check square with a framing square: the corners should be 90 degrees.
3. Install the Plywood Countertop
Cut your 3/4-inch plywood to fit (typically 3 feet × 20 inches). Screw it to the frame with 2-inch exterior screws on a 6-inch grid to prevent warping. Drill a hole near one corner (slightly off-center) for your water basin insert, or position the basin on top if you prefer. Sand any rough edges with 80-grit sandpaper.
4. Add Side Panels (Optional but Recommended)
If building side panels from 2×6 lumber, cut boards to length, arrange vertically, and attach with pocket holes or face-screwing. This prevents spilled soil from escaping and makes the structure look intentional rather than a makeshift bench. Instructables has detailed joinery options if you want cleaner joints.
5. Seal and Protect
Apply water-based exterior stain or polyurethane in two coats, sanding lightly between coats. This protects the wood from moisture without creating a slippery surface. Allow 48 hours drying time before use. Reapply yearly or as the finish wears.
6. Level and Stabilize
Once assembled, place the entire structure on your prepared site. Use a level to check all directions and adjust shims as needed. If building on soil, consider laying landscape fabric underneath to slow moisture wicking and extend the wood’s life.
The whole build typically takes a weekend for one person with basic tools. A second pair of hands speeds assembly and makes moving the frame easier, especially if building with thicker lumber.
Finishing Touches: Storage, Accessories, and Maintenance
Storage Solutions
Add a shelf underneath the counter for storing mud kitchen tools, wooden spoons, small pots, sifters, and funnels. A plastic storage bin or weatherproof cabinet keeps tools dry and organized. Mount a pegboard on an adjacent fence or wall to hang frequently used items where kids can reach them.
Water Feature
If you drilled a hole for a basin, position a galvanized metal basin or plastic insert flush with the countertop. A hose attached nearby or a hand-pump well (if you’re ambitious) adds realism and lets kids rinse their creations. Even a simple bucket of water placed on a nearby shelf works for younger children.
Sensory Materials
Stock your mud kitchen with soil, sand, pea gravel, and water. Replenish soil monthly, it compacts and muddles with use. Real cooking tools (wooden spoons, measuring cups, old pots) feel more authentic than plastic replicas. The trend of outdoor mud kitchens has grown significantly, with families discovering how engaging these spaces become when stocked thoughtfully.
Seasonal Maintenance
Inspect the wood monthly for rot, especially around the water basin where moisture collects. Look for loose screws and tighten as needed. In winter, drain the basin and cover the structure if you live in a snowy climate. Reapply sealant every 12–18 months or when the finish dulls. Between uses, brush away debris and rinse the counter to prevent algae or mold buildup.
Expanding Your Mud Kitchen
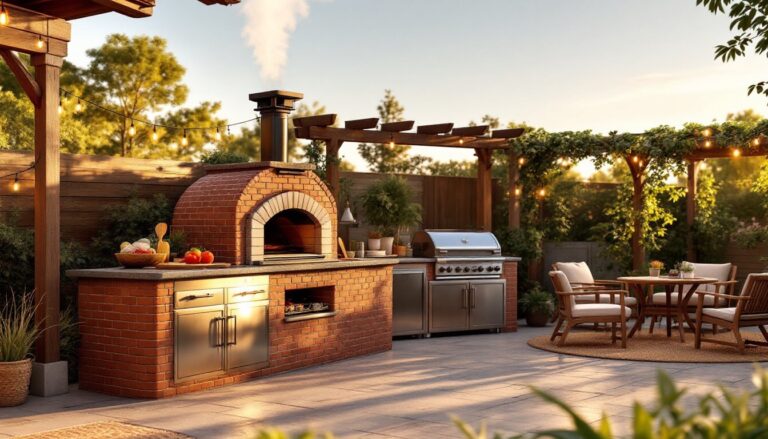
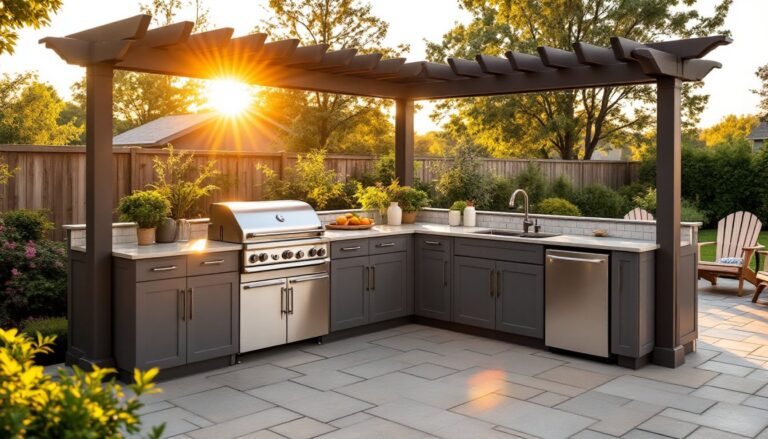
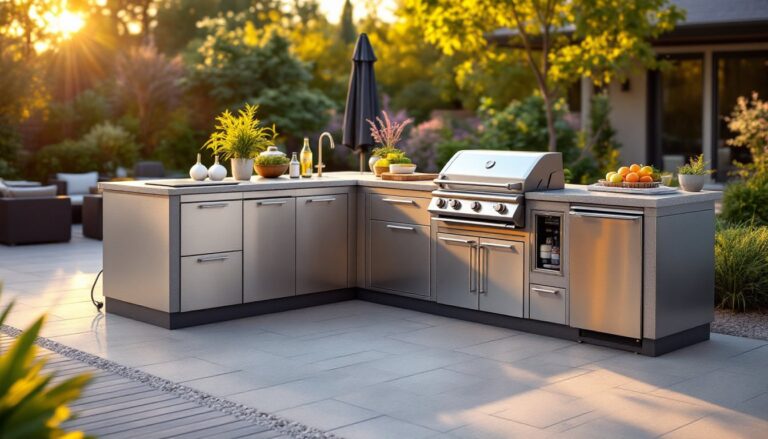
If your family wants more, outdoor kitchen ideas on a budget show how to add a grill area, counter extensions, or shade structures. Many DIYers find that a successful mud kitchen inspires larger outdoor living projects. Custom outdoor living setups often start with a simple kids’ kitchen and evolve into full family gathering spaces.
Safety Reminders
Ensure the structure is stable and won’t tip if a child leans or climbs on it. Use exterior-grade lumber and hardware rated for outdoor use, interior fasteners rust quickly. Supervise young children and keep the work area away from unsupervised water sources. If you live in an area requiring permits for permanent structures, check local codes: a kitchen on a removable frame typically avoids permitting, but bolted or buried footings may not.
Building an outdoor mud kitchen rewards both effort and patience. Your kids will play in it for years, and you’ll gain confidence tackling other backyard projects with the same practical approach.