Table of Contents
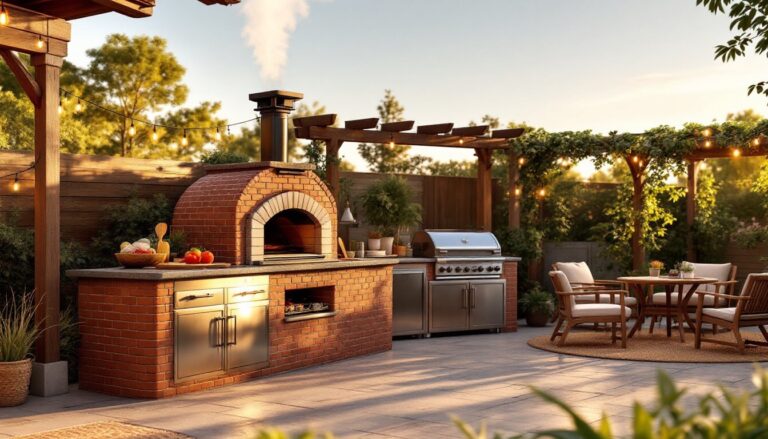
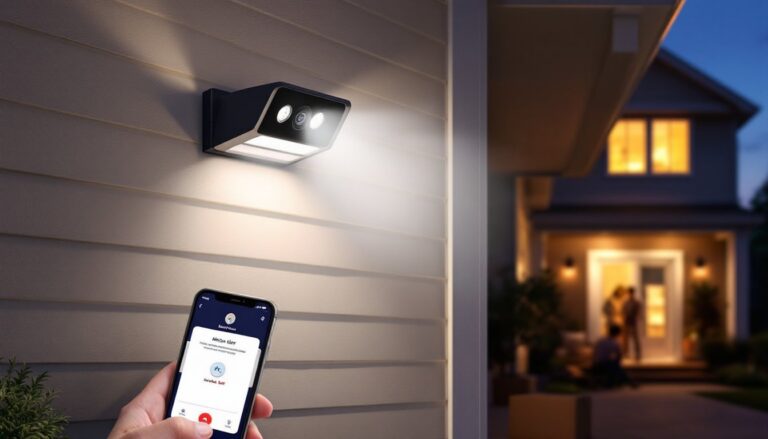
ToggleAn outdoor kitchen transforms your backyard into an extension of your home, a place where cooking and entertaining merge seamlessly with nature. Whether you’re dreaming of weekend barbecues with neighbors or simply want to free up indoor kitchen space, outdoor kitchen installation doesn’t have to feel like a contractor’s job if you break it down into manageable steps. This guide walks you through site planning, equipment selection, utility work, and finishing touches, giving you the knowledge to either tackle the project yourself or speak intelligently with professionals about what you need.
Key Takeaways
- Outdoor kitchen installation success starts with site planning—assess sun exposure, wind patterns, drainage, and local building codes to avoid costly mistakes.
- A solid foundation is critical: pour at least 4 inches of reinforced concrete and ensure the pad is level to prevent warping, misalignment, and water pooling that can damage your outdoor kitchen over time.
- Gas, water, and electrical work require licensed professionals and permits; budget $2,500–$6,000 for utility rough-in to avoid safety hazards and code violations.
- Choose durable countertop materials like granite, quartz, or stainless steel that resist weathering, and ensure proper drainage with a 1/8-inch slope per foot to prevent rot and deterioration.
- Start with essential appliances—a quality grill and cooktop—then add optional features like pizza ovens or ice makers as your outdoor entertaining style evolves.
- Year-round seasonal maintenance, including deep cleaning, sealing grout, draining water lines before winter, and inspecting gas connections, extends your outdoor kitchen’s lifespan and prevents costly repairs.
Plan Your Outdoor Kitchen Layout and Design
Assess Your Space and Climate Considerations
Before you break ground or buy a single appliance, spend time observing your outdoor space. Walk it at different times of day to note sun exposure, wind patterns, and how water drains after rain. An outdoor kitchen placed in full afternoon sun in a hot climate will be uncomfortable: wind funneling through your backyard can scatter heat and smoke.
Measure your available space carefully, ideal counter space runs 12 to 15 feet of linear space, though smaller yards can work with 8 feet. Check for obstructions: overhead power lines, tree branches, drainage swales, and setback requirements from property lines. Many jurisdictions require outdoor kitchens to sit a certain distance from the house and neighboring properties, so verify local codes before finalizing placement.
Climate matters too. In wet regions, plan for covered work surfaces and ensure proper drainage beneath and around your kitchen structure. In arid climates, shade becomes critical for cook comfort. Consider wind direction when siting your grill, you don’t want prevailing winds pushing smoke into your (or a neighbor’s) living space.
Think about workflow: Is your kitchen within convenient reach of your house? Can you easily access utilities, and is there room for plumbing and electrical runs? Sketch a rough layout on graph paper showing the grill, cooktop, sink, storage, and counter space. Top outdoor living trends can spark ideas, and modern outdoor living space design offers inspiration for blending functionality with aesthetics.
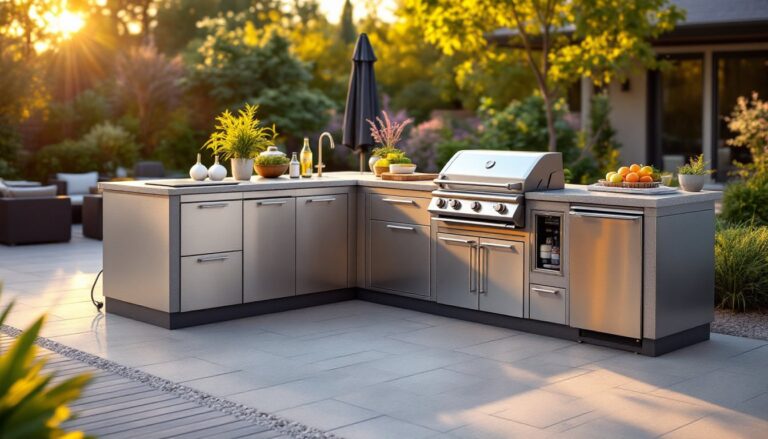
Essential Equipment and Appliances to Include
Your core appliances shape the kitchen’s purpose and budget. A built-in grill, whether gas, charcoal, or dual-fuel, is the centerpiece: quality matters here because heat and weather stress outdoor equipment constantly. Built-in grills start around $1,200 and climb into the $5,000+ range for premium brands. A side burner or dedicated cooktop lets you prep sauces or boil pasta without moving to the house.
A sink transforms your outdoor kitchen from a one-trick setup into a real kitchen. It requires water supply and drainage lines, which adds complexity, but the convenience of rinsing produce or washing hands on-site justifies the work. Outdoor sinks run from $300 for a simple stainless unit to $1,500+ for luxury models.
Refrigeration, a mini fridge, drawer cooler, or beverage center, keeps drinks cold and food fresh. These aren’t essential but dramatically improve usability. Storage cabinetry protects appliances and ingredients from weather: weatherproof materials like marine-grade stainless steel or powder-coated aluminum outperform standard materials.
Optional but popular: pizza ovens, griddles, rotisseries, and ice makers. Resist buying every tool upfront: start with grill and cooktop, then add gadgets as your cooking style emerges. Many DIYers over-invest in features they rarely use. Outdoor kitchen ideas on a budget show how to prioritize effectively without sacrificing quality.
Prepare Your Site and Build the Foundation
Site prep determines whether your outdoor kitchen survives five years or fifteen. Start by clearing and leveling the ground. A 4-inch concrete pad or compacted gravel base prevents settling and improves drainage. For a permanent installation, a concrete foundation is worth the effort: rent a concrete mixer, build wooden forms to your dimensions, and pour at least 4 inches of reinforced concrete (talk to your local building department about reinforcing requirements).
If you’re building cabinetry or a countertop frame, the foundation must be absolutely level. Use a long level, 48 inches minimum, to check slope. Outdoor structures face freeze-thaw cycles, wind loads, and water saturation, so don’t skimp on the base. A poorly prepared foundation causes cabinets to shift, doors to misalign, and water to pool.
For the frame itself, consider pressure-treated lumber rated for ground contact (typically 2×4 or 2×6 for joists). Nominal 2×4 lumber measures 1.5 inches by 3.5 inches actual. Space joists 16 inches on center to support countertop weight and appliances. Exterior-grade screws (stainless or coated) prevent rust better than nails, which tend to back out as wood shrinks and swells.
Build back from your work surface height of 36 inches, accounting for your countertop thickness (typically 1.5 to 2 inches). Many DIYers need a second pair of hands for framing: if you’re not comfortable with carpentry, hire a contractor for this phase. Outdoor living spaces contractors can handle framing, or you can self-manage if you’ve built raised beds or deck frames before.
Install Utilities: Gas, Water, and Electrical
Utility work is where you often need licensed professionals, local codes typically require permits and inspections for gas and electrical installations. Don’t try to DIY this unless you’re already licensed in your jurisdiction.
Gas Lines: A gas grill requires a supply line from your house or a propane tank. Hardline (copper or steel) is preferable to flex hose for buried runs. Joints must be sealed with pipe thread compound (also called Teflon tape or PTFE thread seal). Gas line work almost always requires a licensed plumber or gas fitter: mistakes create fire and explosion hazards. Expect $500–$2,000 in labor depending on distance and burial depth.
Water Supply: If you want an outdoor sink, you’ll need a dedicated water line with shutoff and, in freezing climates, a drain valve to winterize. Freeze-proof faucets are essential in regions where winter temperatures drop below freezing: standard outdoor faucets burst when water inside expands. Trenching to bury water lines 18–24 inches below your region’s frost line (check local codes) adds labor cost. Budget $1,000–$3,000 for a new line and shutoff.
Electrical: GFCI (ground-fault circuit interrupter) protection is mandatory for outdoor outlets per the National Electrical Code (NEC). Run underground conduit rated for wet locations, or hire an electrician to do it. A dedicated 20-amp circuit for outdoor appliances prevents overload. Lighting, if desired, should be on a separate circuit. Hire a licensed electrician: this work requires proper permits and inspection.
Total utility rough-in (materials and labor) typically runs $2,500–$6,000. Start planning utility runs early: moving lines mid-project is expensive.
Construct Countertops, Cabinetry, and Finishing Touches
Countertop material makes or breaks durability. Granite or quartz resists staining, heat, and weathering, best for performance but priciest ($40–$100+ per linear foot installed). Stainless steel offers a commercial feel, resists rust, and cleans easily ($30–$60 per linear foot). Tile is affordable ($10–$30 per linear foot) but grout requires periodic sealing in freeze-thaw climates. Concrete is budget-friendly and can be sealed and tinted for style: seal every 2–3 years.
Whatever material you choose, ensure a minimum 1-inch overhang for knee clearance and a slight slope (1/8 inch per foot) for drainage. Water pooling on counters leads to rot and deterioration.
Cabinetry faces constant weather exposure. Marine-grade stainless steel cabinets last longest but cost $150–$400 per linear foot. Teak or composite wood with exterior sealant costs less but requires annual maintenance. Powder-coated aluminum frames with waterproof panels offer a middle ground. Avoid interior-grade plywood: it delaminates in moisture. All hardware must be stainless or marine-grade.
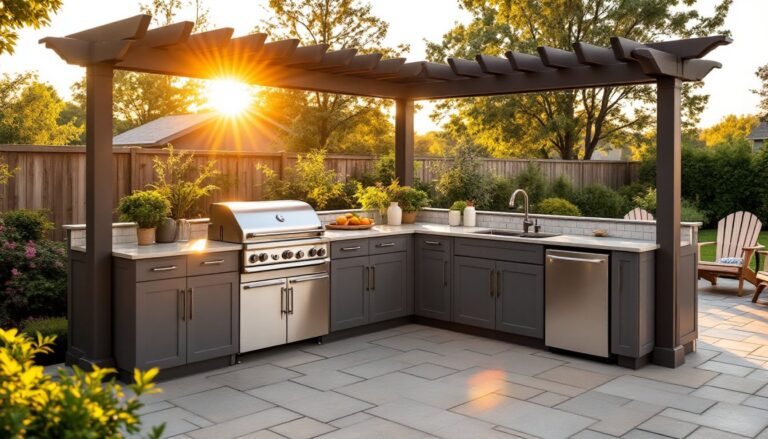
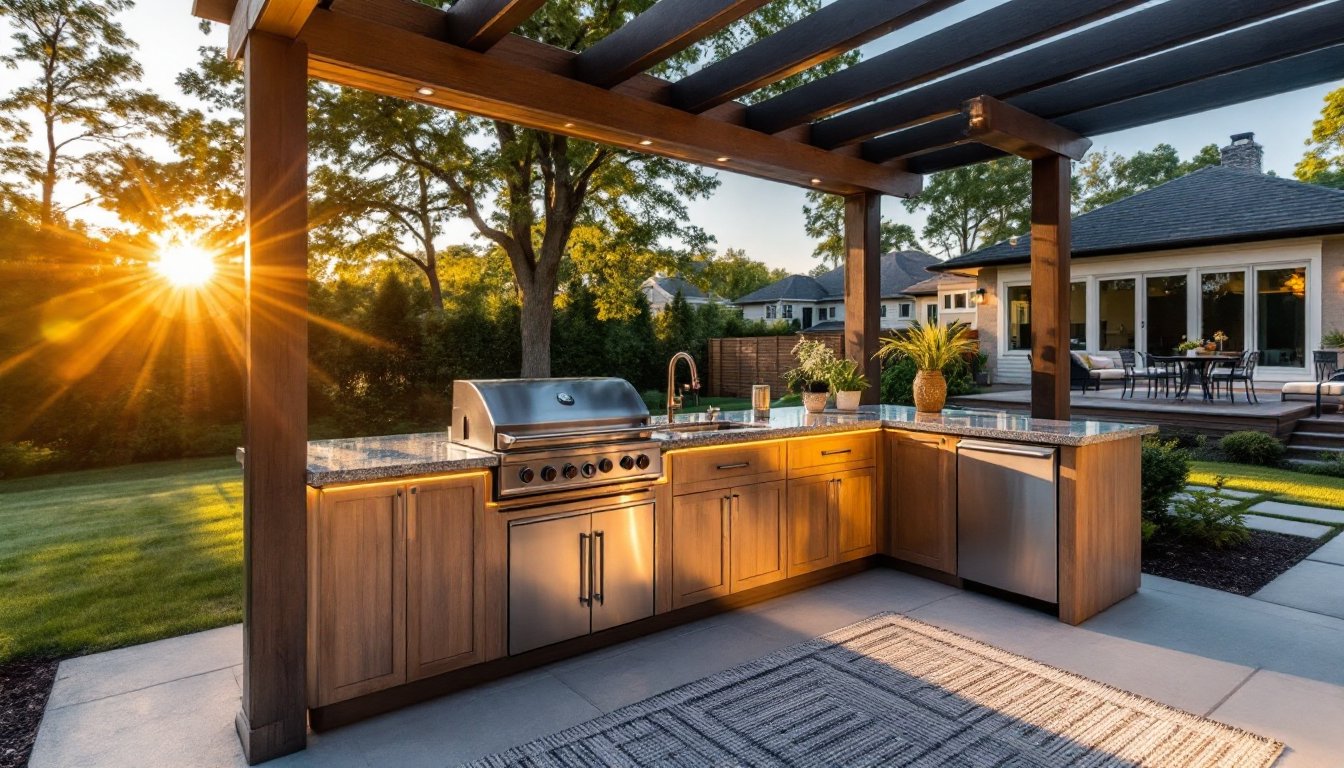
Finishing touches matter: a canopy or pergola overhead reduces sun and provides shade: ambient lighting extends usability into evening: and durable outdoor rugs define zones. Custom outdoor living spaces demonstrate how thoughtful design pulls everything together. This is where your project shifts from purely functional to genuinely enjoyable. Plan for a budget cushion, materials and labor always exceed initial estimates by 10–15%.
Maintain Your Outdoor Kitchen Year-Round
An outdoor kitchen isn’t a build-and-forget project. Seasonal maintenance keeps everything functional and extends equipment life.
Spring and fall: Deep-clean all surfaces with appropriate cleaners. For stainless steel, use a dedicated stainless spray to prevent water spots and fingerprints. Check grout or sealant on tile countertops: re-seal if needed. Inspect gas lines for leaks by brushing a soap solution on connections, bubbles indicate leaks. Tighten all bolts on grills and appliances: vibration from use can loosen fasteners.
Summer: Run your grill regularly to keep gas valves from sticking. Clean grates and flavorizer bars monthly to prevent grease buildup and rust. Wipe down counters after use to prevent staining. If you’re in a humid climate, watch for mold on tile grout, a bleach solution works, but wear gloves and eye protection.
Winter (cold climates): Drain water lines completely before the first hard freeze: a burst supply line inside a wall is a nightmare. If your grill is permanently installed, cover it with a marine-grade cover, cheap tarps tear and trap moisture. Drain your sink trap and cover the faucet to protect freeze-proof stems. Apply a sealer to concrete or tile every 2–3 years to prevent salt and ice-melt damage.
Resources like This Old House and Bob Vila offer detailed seasonal maintenance guides for various outdoor structures. Regular upkeep costs little compared to repairing weather damage or replacing corroded parts.