Table of Contents
ToggleAn outdoor kitchen transforms your backyard into a functional entertaining space, but it’s only as good as its fixtures. The outdoor kitchen sink faucet is one of the most-used components, whether you’re rinsing produce, filling pots, or cleaning up after a cookout. Choosing the right faucet means the difference between a fixture that lasts for years and one that corrodes, leaks, or freezes solid come winter. This guide walks you through the essentials: what to look for, how to install it, and how to keep it running year-round.
Key Takeaways
- An outdoor kitchen sink faucet must be made from stainless steel 304 or 316 with frost-proof design to withstand UV exposure, freeze-thaw cycles, and temperature swings without corroding or leaking.
- Choose a faucet with 2.2 to 2.5 GPM flow rate and verify your outdoor water line size is at least 3/4-inch diameter to ensure adequate pressure and performance.
- Installation requires basic tools and Teflon tape, but you should attach stainless steel braided hoses instead of rubber and install a nearby shutoff valve for easy winterization and maintenance.
- Winterization is critical in freezing climates: manually drain your outdoor faucet lines or rely on frost-proof automatic drain-down, and wrap exposed supply lines with foam insulation to prevent freeze damage.
- Regular cleaning with soft cloths and monthly vinegar rinses prevent mineral deposits and UV damage, while replaceable cartridge kits under $20 can extend your faucet’s lifespan significantly.
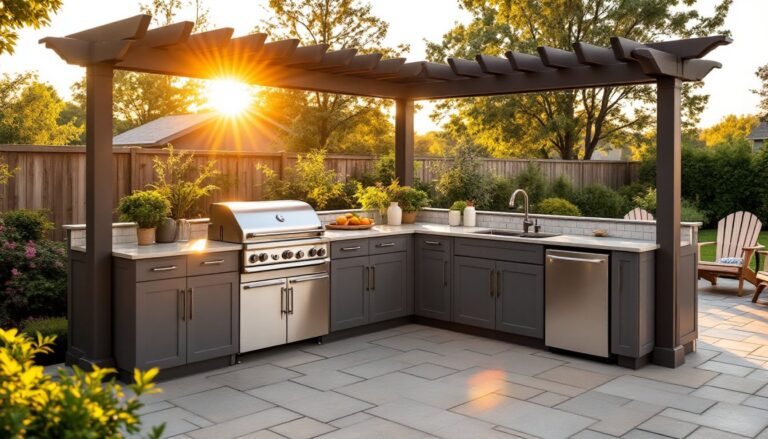
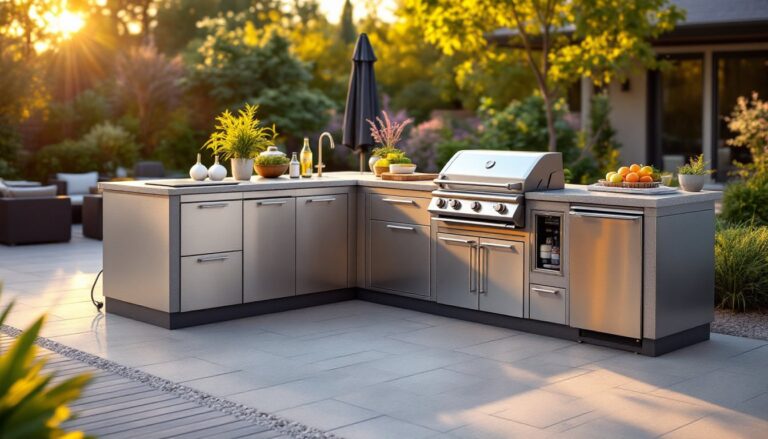
Why Your Outdoor Kitchen Needs the Right Sink Faucet
An outdoor kitchen sink faucet faces challenges that indoor models never will. It’s exposed to direct sun, rain, freeze-thaw cycles, and temperature swings that can degrade materials and seals. A cheap or undersized faucet will fail within a season or two, leaving you with leaks, poor flow, or a rusted fixture that looks terrible.
A proper outdoor kitchen sink faucet must handle cold water lines that may not drain fully in winter, high water pressure fluctuations, and UV exposure without cracking or losing finish. It also needs adequate reach and flow to handle the real work of an outdoor kitchen, filling large pots, rinsing plates, and cleaning up efficiently. Investing in a durable, weather-resistant model upfront saves you money and frustration down the road.
Key Features to Look for in an Outdoor Kitchen Sink Faucet
When shopping for an outdoor kitchen sink faucet, focus on three core areas: material, flow rate, and functionality. Not all faucets marketed as “outdoor” are created equal, so you’ll want to know what separates a solid choice from a budget trap.
Durability and Weather Resistance
Material is everything. Look for stainless steel 304 or 316 (not lower grades like 201), which resist corrosion far better than chrome-plated brass in outdoor environments. Stainless 316 is the premium choice, it’s used in marine applications and holds up best in humid or salty climates.
The handle and spout should also be solid brass or stainless underneath any finish. Many budget faucets use pot-metal (zinc alloy) bodies that corrode quickly when exposed to weather. Finish options matter too: brushed stainless or powder-coated finishes hide water spots and fingerprints better than polished chrome, which requires constant cleaning outdoors.
Check whether the faucet includes a freeze-proof anti-siphon valve or frost-proof design. This is non-negotiable in any climate that dips below freezing. Without it, water remains in the lines after use and expands as it freezes, cracking the valve body. Look for a manual drain valve at the base to bleed lines before winter, or a model with automatic drain-down when the water pressure drops.
Springs and cartridges, the internal parts that control flow and temperature, should use stainless or ceramic materials rather than rubber seals that degrade in UV light. A good faucet will specify these details in the spec sheet: if the listing is vague, that’s often a red flag.
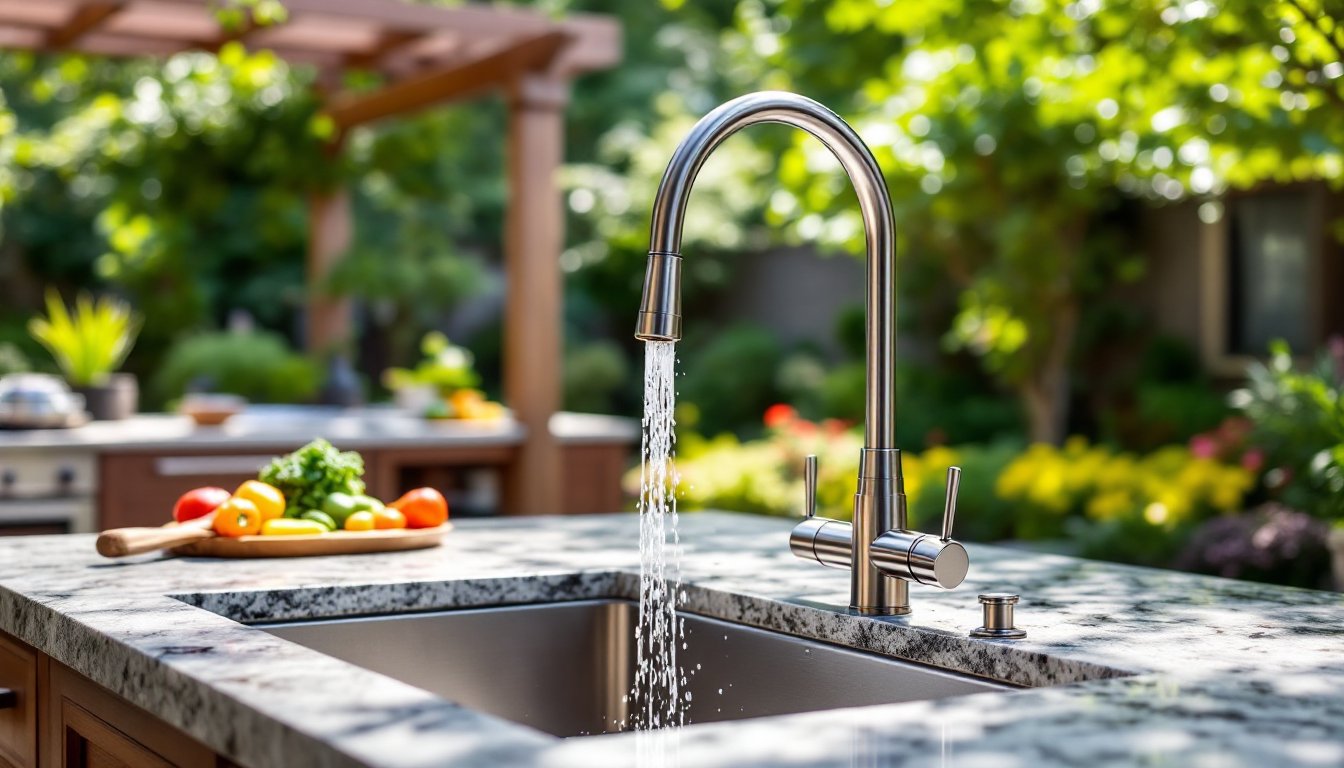
Flow Rate and Water Pressure
Outdoor kitchen sink faucets typically flow at 2.2 to 2.5 gallons per minute (GPM) for standard models. Some high-volume options go up to 3 GPM, but that requires robust water supply lines (at least 3/4-inch diameter copper or PEX). Check your existing outdoor water line size before buying, if it’s 1/2-inch, even a high-flow faucet will underperform.
Water pressure matters just as much. Outdoor lines sometimes sit lower than indoor mains, reducing pressure. A faucet with an aerated nozzle (standard on most modern models) maintains perceived flow while reducing actual consumption, this is a practical win. If your outdoor pressure is consistently below 40 PSI, look for a low-pressure faucet model designed for that scenario, or consider upgrading your line.
Installation Tips for Your Outdoor Kitchen Sink Faucet
Installing an outdoor kitchen sink faucet is straightforward if you follow prep steps and don’t rush. Most installations are DIY-friendly, but some outdoor sinks may require a licensed plumber if permits are involved, check with your local building department first.
What you’ll need:
• Adjustable wrench or basin wrench
• Teflon tape (plumber’s tape)
• Bucket to catch water
• Flashlight (if working under the sink)
• New supply lines (flexible stainless steel braided hoses, typically 1/2-inch)
• Shutoff valves (if your setup doesn’t have them)
Steps:
- Turn off the water supply and open the faucet to relieve pressure.
- Disconnect the old faucet (if replacing). Use the basin wrench to reach nuts under the sink.
- Clean the sink base thoroughly. Old caulk or mineral deposits will interfere with a tight seal.
- Install the new faucet according to the manufacturer’s instructions. Typically, you’ll insert the faucet through the sink hole(s) and tighten the mounting nuts from below.
- Wrap connection threads with Teflon tape, two to three wraps clockwise. This prevents leaks and makes future removal easier.
- Attach the supply lines. For outdoor faucets, use stainless steel braided hoses instead of standard rubber. These resist UV and temperature swings better. Connect hot and cold lines (or just cold if your outdoor kitchen doesn’t have heated water).
- Attach a shutoff valve on the water line near the faucet. This lets you isolate the outdoor kitchen for maintenance or winterization without shutting off your whole home’s water.
- Test for leaks before finishing. Turn the water on slowly, check all connection points, and let it run for a minute.
If you’re installing into an existing outdoor sink, you’re likely replacing an old faucet, much simpler. If you’re building a new outdoor kitchen, make sure the sink is positioned for easy cleaning and drainage. Resources like Family Handyman offer detailed plumbing diagrams if you’re unsure about your setup.
Maintenance and Winter Care
Keeping your outdoor kitchen sink faucet in good shape year-round requires minimal effort, but it’s critical.
Regular cleaning: Wipe down the faucet weekly with a soft cloth to prevent mineral deposits and UV damage. In areas with hard water, use a 50/50 vinegar-and-water solution monthly to dissolve buildup. Never use abrasive scrubbers on stainless finishes, they leave scratches that catch dirt and rust.
Before winter: This is the most important step. In any climate where temperatures drop below 40°F, you must drain and protect your outdoor kitchen water lines. If your faucet has a manual drain valve, open it and let water bleed out completely. If it has a frost-proof design, it should handle this automatically, but verify with the manual. Consider wrapping exposed supply lines (particularly from the house to the outdoor sink) with foam pipe insulation, cheap insurance against freeze damage.
Some homeowners install a full shutoff and bleed valve assembly near the entry point of the outdoor water line. This isolates the outdoor lines entirely and drains them in one operation. For a few dollars and an hour of work, it prevents hundreds in repair costs. Resources like This Old House and curated guides on outdoor sink faucets offer step-by-step winterization examples.
After winter: Before the first warm day, open the shutoff valve slowly and run the outdoor faucet for 2–3 minutes to flush any sediment that may have settled over the dormant season. Check all connections for leaks. If a line froze and cracked, you’ll see water pooling around the base or connection.
Seals and cartridges: If your faucet develops a slow drip after a few years, it’s usually a worn cartridge or aerator. These are often replaceable as kits (under $20) without removing the entire faucet. Check the manufacturer’s website for your model number and replacement parts availability. This extends the life of your fixture significantly.
Conclusion
Choosing the right outdoor kitchen sink faucet comes down to durability, flow, and planning for your climate. Stainless steel with frost-proof design, adequate GPM, and quality internal seals will serve you for years. Take time with installation, winterize properly, and you’ll have a reliable fixture that makes your outdoor kitchen truly functional. Don’t skimp on this detail, it’s one of the hardest-working pieces in your backyard setup.