Table of Contents
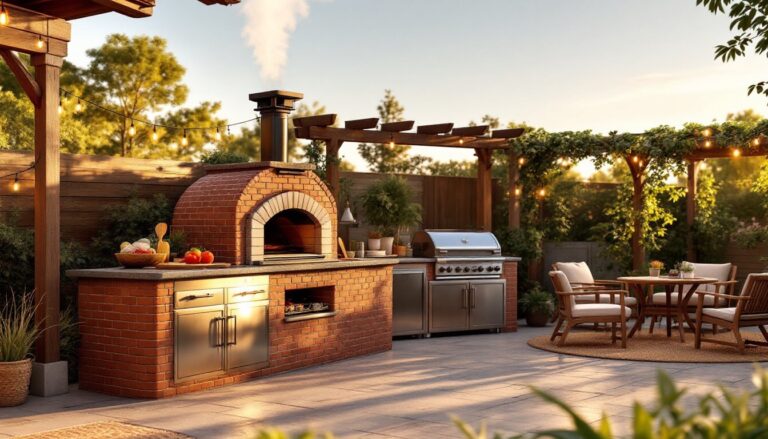
ToggleBuilding a covered outdoor kitchen doesn’t require a six-figure budget or a contractor’s license. Homeowners and DIY enthusiasts can create a functional, weather-protected cooking space using smart material choices, repurposed elements, and strategic planning. A covered outdoor kitchen extends the usable season of your backyard, protects appliances from the elements, and creates a gathering spot for family and friends. Whether you’re working with a sprawling yard or a compact patio, practical solutions exist at every price point. This guide walks you through affordable strategies to build a durable, attractive covered kitchen that matches your space and budget.
Key Takeaways
- Inexpensive covered outdoor kitchen ideas start with a DIY pergola or patio cover using pressure-treated lumber ($600–$1,200 for a 12×16-foot structure), eliminating expensive contractor fees.
- Concrete countertops ($30–$50 per linear foot for DIY) and stainless steel work tables ($200–$600) provide durable, affordable alternatives to custom stone cabinetry.
- Repurposed materials like reclaimed wood, pallet wood, and salvaged hardware from ReStores or Craigslist dramatically reduce costs while adding character to your kitchen design.
- Mid-range grills ($300–$700), compact refrigerators ($400–$800), and portable appliances deliver practical functionality without premium price tags, keeping equipment costs accessible.
- Smart L-shaped layouts and vertical storage solutions maximize space efficiency in compact yards while maintaining proper clearance between grills and overhead structures for safety.
- Quality exterior paint, annual weatherproofing, LED task lighting, and protective covers ensure your covered outdoor kitchen investment remains durable and functional for years.
DIY Pergola And Patio Cover Solutions
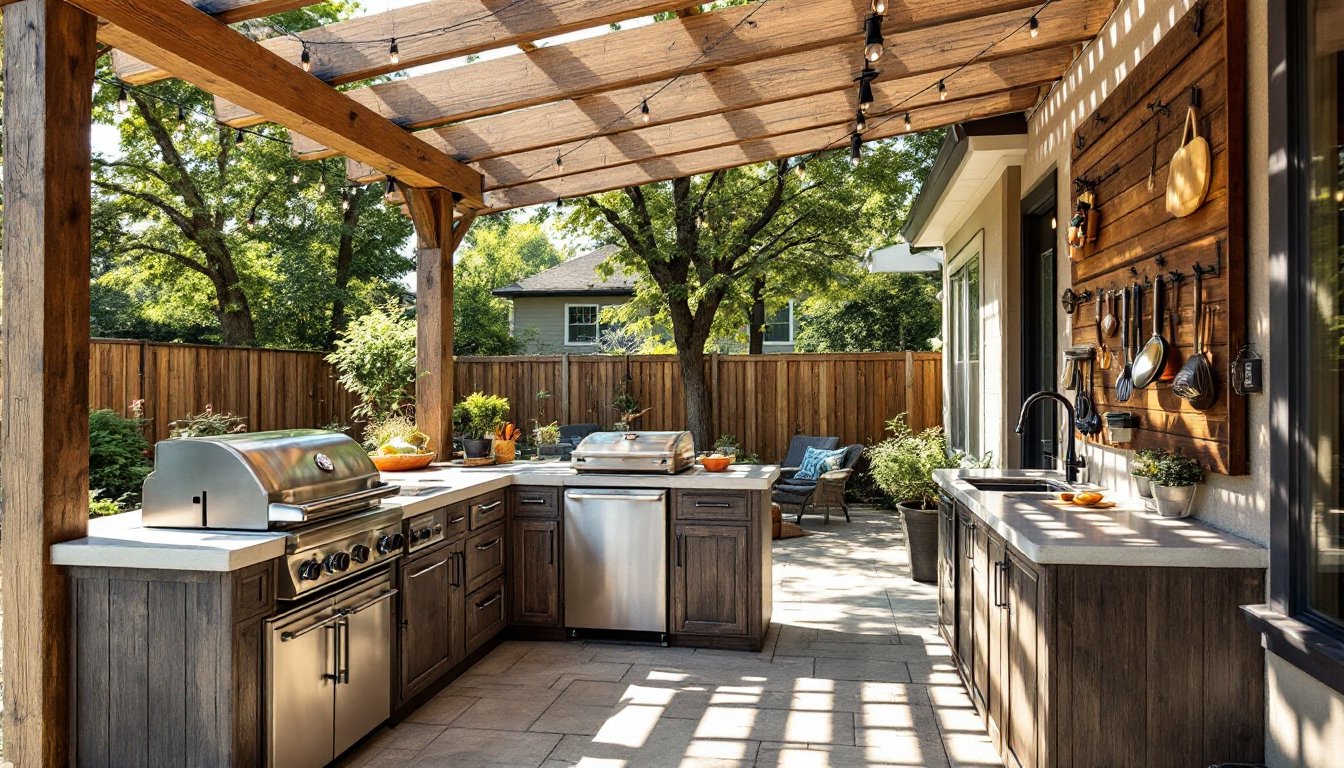
A pergola or simple patio cover is the backbone of any covered outdoor kitchen. Rather than hiring a contractor, many DIYers successfully build these structures themselves using pressure-treated lumber and basic tools.
Pressure-treated lumber (typically 4×4 posts and 2×8 beams) costs far less than composite materials and handles outdoor weather when properly sealed. Posts should sit on concrete footings dug 24 to 36 inches deep, check your local building code, as frost lines vary by region. For a 12×16-foot structure, expect to spend $600–$1,200 on materials before fasteners and finishing.
A simple flat patio cover (fully weatherproof) involves two rows of posts with beams and either corrugated polycarbonate or metal roofing panels. Polycarbonate panels run about $2–$5 per square foot, are lightweight, and let filtered light through. Metal roofing is more durable but heavier, requiring stronger framing. Both shed water effectively and install with basic carpentry skills.
For an open-air alternative, a pergola with angled slats provides partial shade and a more refined look. Slats don’t block weather entirely, but they reduce sun intensity and look sharper than a full roof. Add a removable shade cloth to fine-tune coverage. Many DIYers build pergolas from 2×4 and 2×6 lumber, costing $400–$800 for a comparable footprint.
Before digging or fastening anything, contact your local building department. Most jurisdictions require permits for structures over 200 square feet or those with permanent roofs. Permits cost $50–$300 and save you from costly removal orders later. If your yard sits on clay or rocky soil, use a post-hole auger instead of a shovel, you’ll thank yourself after the first hole.
Affordable Cooking Stations And Countertops
Countertops and cooking stations eat up the budget quickly if you aren’t strategic. Before ordering stone or custom cabinetry, consider what you actually need: a grill placement, prep surface, sink area, and storage.
Concrete countertops are a game-changer for budget builds. Pros charge $100–$200 per linear foot: DIYers can pour their own for $30–$50 per linear foot using concrete mix, rebar, and simple wooden forms. Concrete scores, seals well, resists staining when sealed with food-grade epoxy, and pairs with nearly any style. Yes, it can crack if the base settles unevenly, so proper subflooring matters.
For a lower-commitment option, stainless steel work tables ($200–$600) bolt together quickly, need minimal installation, and provide industrial durability. They’re compact, modular, and don’t require sealing. Restaurant supply sites often have open-stock models cheaper than big-box stores.
Ceramic tile over cement board is another solid path: inexpensive tile ($1–$3 per square foot), cement backer board ($10–$15 per sheet), and basic adhesive and grout. The trick is sloping the surface slightly toward a drain point if you plan to install a prep sink.
Repurposed Materials And Budget Alternatives
Think creatively about where materials come from. Reclaimed barn wood, pallet wood, and salvaged metal grates add character and cut costs dramatically. Habitat for Humanity ReStores and Craigslist are goldmines for off-spec windows, doors, and hardware. A weathered wood base with a poured concrete or tile top strikes the right balance between rustic charm and function.
Cinder blocks and wooden framing can form base cabinets for under $300, and you can face them with reclaimed wood or leave them exposed for an industrial vibe. One backyard kitchen builder used reclaimed fence boards to box in cinder block bases, stained them dark, and sealed with polyurethane, the result looked far more expensive than the $150 material cost.
For countertop edging and trim, steel angle iron (2×2 inches) bolts to countertop edges, provides a clean professional line, and costs $2–$4 per linear foot. Paint it flat black or leave it raw for an industrial feel.
Cost-Effective Appliances And Equipment
Outdoor kitchens don’t need restaurant-grade gear. Mid-range grills, cooktops, and fridges deliver solid performance at DIY-friendly prices.
Gas grills in the $300–$700 range (brands like Weber, Char-Broil, and Dyna-Glo) handle everyday cooking without the premium tag. Look for models with stainless steel grates, consistent heat distribution, and side burners. Propane tanks live outside and out of sight: natural gas lines require a licensed plumber and a permit, so propane is usually cheaper to install.
A compact outdoor refrigerator ($400–$800) keeps ingredients and drinks cold without running indoor appliances. Some models are downdrafts (smaller, deeper) rather than full-width units, measure your space carefully. Stainless models resist salt spray better than painted versions if you live near coast.
If a full fridge is overkill, a beverage cooler on wheels ($150–$300) serves the same function for a fraction of the cost and takes zero built-in space. Casters let you roll it in or out of weather.
Small appliances like outdoor burners, griddles, and portable pizza ovens (stainless or cast iron, $100–$600) add cooking flexibility without the footprint of a full stove. Cast iron heats slowly but retains heat beautifully: stainless steel warms faster. Protect them from rain with a weatherproof cover or store indoors offseason.
Skip the fancy ice maker and beverage center: a simple prep sink with a two-handle faucet ($150–$250 including rough-in plumbing) beats a full bar setup. Cold water, a drain, and a towel rack are functional essentials. Run water lines in insulated PEX tubing and slope pipes downhill for winter drainage if you live in a freeze zone.
Design Layout Hacks For Maximizing Space
Smart layout saves money and improves workflow. The classic work triangle, prep, cook, serve, still applies outdoors, just at a tighter scale.
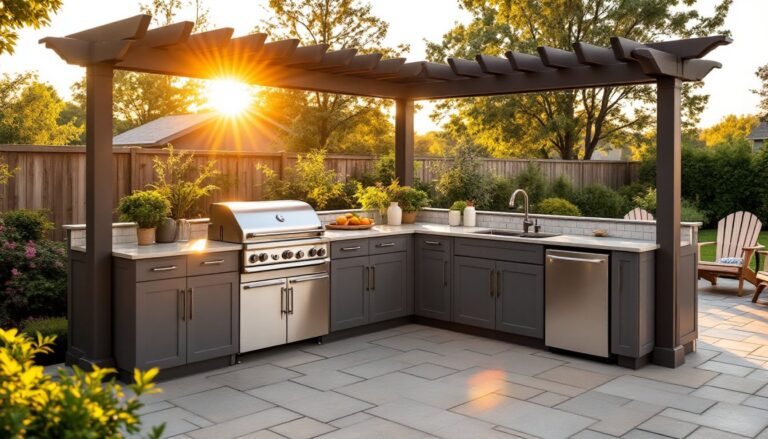
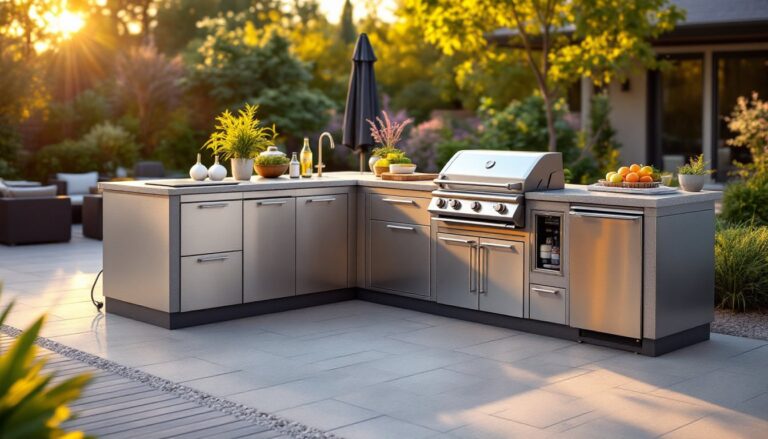
For a compact yard, position the grill as the focal point, flank it with a narrow prep counter on one side (3–4 feet of surface), and keep the fridge and sink within arm’s reach on the other. An L-shaped layout works better than a straight line because it saves steps and uses corner space efficiently. Avoid placing the grill directly under the pergola or cover if your roof material is flammable, wood slats above a grill are a fire risk. Keep at least 3 feet of clearance between grill exhaust and any combustible material overhead.
Consider a modern outdoor living space with a multi-zone approach: cooking area, dining area, and lounge seating. Vertical storage (wall-mounted shelves, hanging racks for tools) frees up counter real estate. Pegboard, hose hooks, and magnetic strips mounted on the inside face of the pergola or a side wall keep utensils, towels, and small tools organized and visible.
For tight spaces, a modular approach lets you start small and expand. A single portable cart with a grill surface, a small prep counter, and storage underneath can grow into a full kitchen as your budget allows. This strategy also means you’re not locked into a permanent layout if your needs change.
When siting the kitchen, think about shade, prevailing winds, and proximity to the house. A covered kitchen on the shaded north side of the house stays cooler than a sun-baked western exposure. Conversely, if you’re in a cool climate, the western sun helps extend the season. Position the space upwind of the patio if smoke bothers you.
Finishing Touches And Maintenance Tips
Details separate a finished outdoor kitchen from a haphazard setup. Paint, lighting, and weatherproofing are non-negotiable.
Primer and exterior paint (high-quality acrylic latex or urethane) protect wood and metal from UV damage and moisture. Cheap paint peels and fails within a year. Quality exterior paint costs $30–$60 per gallon but lasts 5–7 years. Apply primer first, especially on bare wood or previously stained surfaces. Matte or satin finishes hide dirt better than gloss.
Weatherproof exposed wood annually. Sealers and stains slow rot and checking (surface cracking). Concrete countertops need resealing every 1–2 years, especially if you prep raw meat or acidic foods. Metal counters and frames benefit from occasional rust-inhibiting spray or touch-up paint on nicks.
For lighting, solar path lights are free to operate but dim, fine for ambient glow, not task work. LED string lights add warmth and cost under $30 per run. Proper task lighting (recessed LEDs under the pergola or pendant fixtures above the prep area) costs $200–$500 to install but makes grilling and food prep safe and enjoyable at dusk. If running electrical outdoors, use GFCI outlets and schedule an inspection: faulty outdoor wiring causes fires and shocks.
Floor finishing matters too. Pavers (concrete, brick, or stone) set in sand cost $5–$15 per square foot and provide traction. Gravel looks rustic but migrates everywhere and collects debris. Polished concrete works but becomes slippery when wet, score it lightly or use non-slip coating.
Covers and storage extend equipment life. A durable grill cover ($40–$100) prevents rust and UV degradation. Store small appliances, hoses, and propane tanks out of winter weather if you’re in a freeze zone. Even hardy materials degrade faster in freeze-thaw cycles and salt spray. Projects featured on Young House Love demonstrate how thoughtful finishing elevates a budget build’s appearance and durability.
Conclusion
A covered outdoor kitchen is achievable on a modest budget when you prioritize structural integrity, smart material choices, and thoughtful layout. Start with a solid pergola or roof, choose affordable countertop solutions like concrete or tile, pick mid-range appliances, and finish strong with paint, seals, and proper lighting. DIY work saves labor costs, but don’t rush permits, foundation work, or electrical rough-in, those mistakes cost far more than doing it right the first time. Your backyard cooking space will pay dividends in functionality, entertaining, and simple outdoor living enjoyment for years to come.