Table of Contents
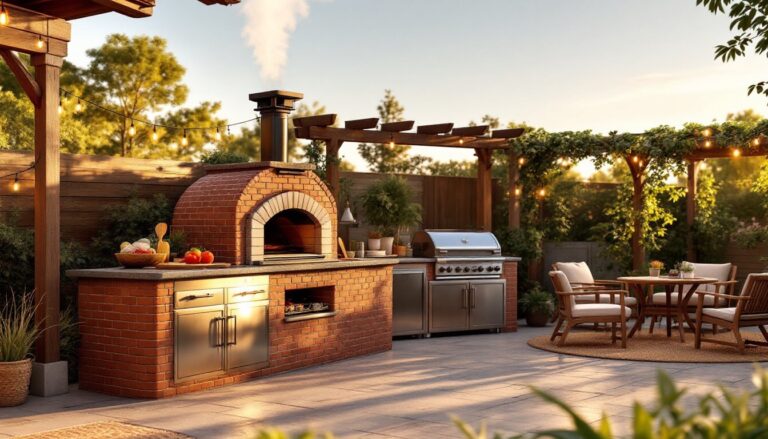
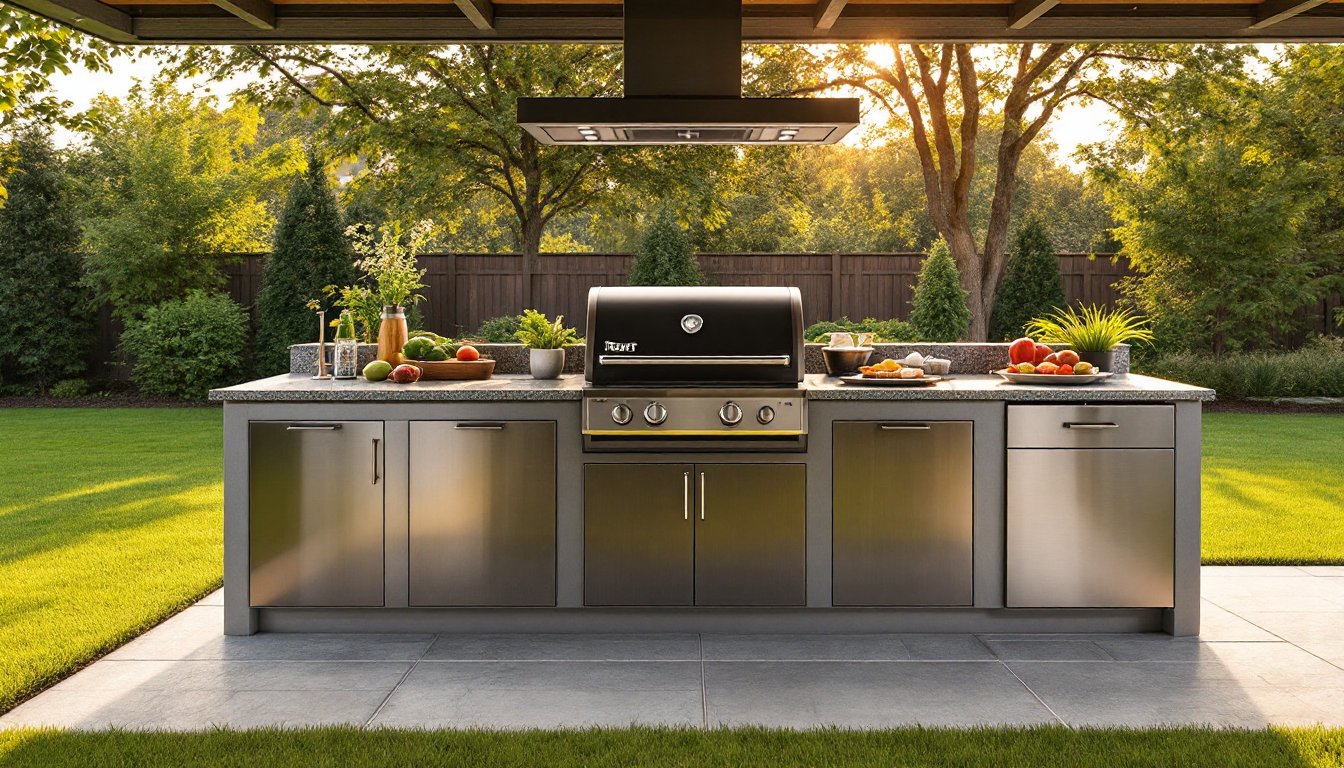
ToggleA built-in Traeger outdoor kitchen transforms your backyard into a year-round entertaining hub. Unlike a standalone grill, a built-in Traeger integrates seamlessly into custom cabinetry and countertops, elevating both function and curb appeal. Whether you’re a weekend chef or serious outdoor cook, this setup combines the precision pellet-burning technology that Traeger is known for with the permanent, polished look of a dedicated outdoor cooking station. This guide walks you through selecting, designing, and installing a built-in Traeger outdoor kitchen so you can start grilling with confidence.
Key Takeaways
- A built-in Traeger outdoor kitchen integrates seamlessly into custom cabinetry and countertops, providing consistent temperature control and weather protection while increasing home value.
- Essential components include stainless steel cabinetry, concrete footings, heat-resistant countertops, proper ventilation, and a GFCI-protected 120V electrical outlet for safe operation.
- Choose a Traeger model with 400–600 square inches of cooking surface and measure your cabinet opening carefully to ensure at least 3 inches of clearance on each side for optimal airflow.
- Plan your layout around four zones—prep, cooking, staging, and storage—with countertops aligned at 36 inches and proper traffic flow to maximize workflow and safety.
- Always check local building codes, obtain necessary permits, and hire a licensed electrician for outdoor circuits and a GFCI installation to avoid liability issues.
- Maintain your built-in Traeger with monthly grease bucket emptying and firebox inspections, seasonal weatherproofing checks, and annual professional servicing to ensure longevity and reliable performance.
Why Choose A Built-In Traeger For Your Outdoor Kitchen
A built-in Traeger offers distinct advantages over portable grills. Traeger’s pellet-burning technology maintains consistent temperature without the hassle of charcoal or gas refills, your grill manages heat automatically while you focus on cooking. A permanent installation means better insulation, improved weather protection, and the ability to add complementary appliances (side burners, mini fridges, storage) around it.
Built-in models also signal intentionality. You’re not just buying a grill: you’re investing in a curated outdoor living space that increases home value and creates a gathering place. The structured setup encourages thoughtful menu planning and entertaining. Plus, with proper cabinetry, your pellet smoker stays protected from the elements and theft, extending its lifespan significantly.
When you’re ready to explore broader outdoor entertaining options, many homeowners combine their Traeger setup with other elements to complete the space.
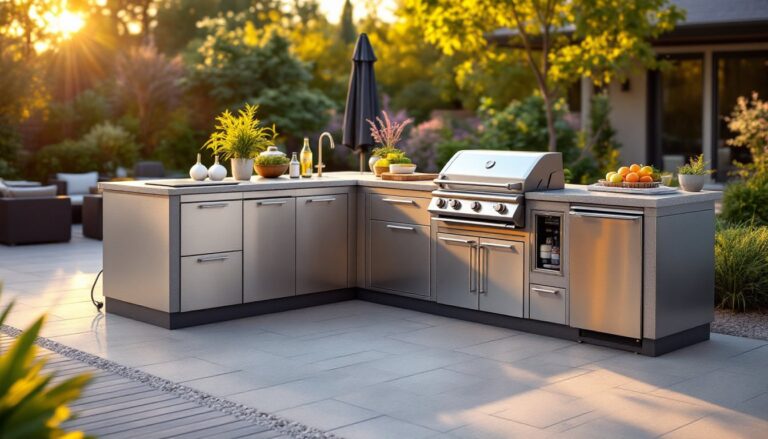
Essential Components You’ll Need To Get Started
Before you build, gather these core items:
Structure & Materials:
- Stainless steel or powder-coated steel cabinetry (grill base cabinet with ventilation cutouts)
- Concrete footing or gravel pad (ensures level, stable ground and prevents rot)
- Countertops (granite, concrete, or composite: must withstand heat near the grill)
- Weatherproof framing lumber (cedar or treated 2x4s and 2×6 joists: nominal sizes are roughly 1.5″ × 3.5″ for a 2×4)
Mechanical:
- Proper ventilation (hood or open-air design with clearance per building code)
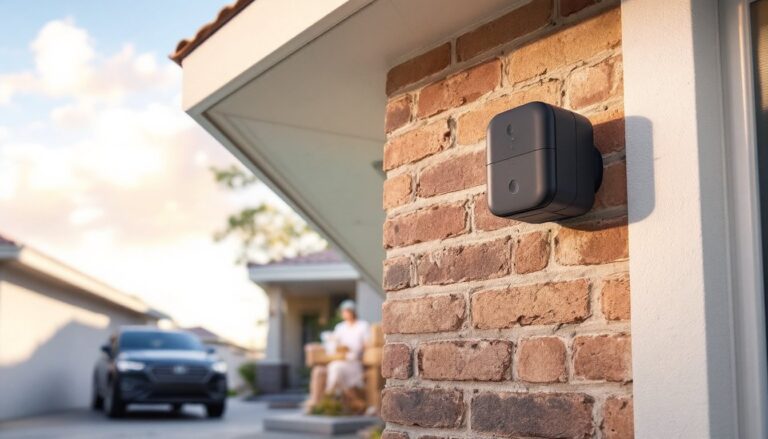
- Electrical outlet (GFCI-protected, 120V minimum: Traeger grills require power for the pellet auger and controller)
- Gas line or natural ventilation (depending on local codes)
Finishing:
- Outdoor-grade paint or sealant (UV-resistant primer followed by exterior paint)
- Hardware (stainless steel bolts, hinges, and handles that resist corrosion)
Gather these items before framing begins. Skipping quality materials, especially weather-resistant cabinetry and proper electrical, leads to costly repairs within a few years.
Selecting The Right Traeger Model For Your Space
Traeger offers several sizes, from compact tabletop units to full-size integrated models. For a built-in setup, you’ll typically choose from their larger options like the Timberline Series or Ironwood Series, which have the cooking area and structural rigidity needed for permanent mounting.
Key specs to evaluate:
- Cooking surface area (measured in square inches: 400–600 sq. in. suits most residential patios)
- Max temperature range (200–500°F is standard: higher ranges offer searing capability)
- Hopper capacity (larger hoppers mean less frequent pellet refills: 20–55 lbs. is typical)
- WiFi & smart controls (modern Traeger models integrate with smartphone apps for remote monitoring)
Measure your intended cabinet opening before purchasing. The grill must fit snugly with at least 3 inches of clearance on each side for airflow. Some dealers offer on-site consultations to confirm fit, take advantage of that. Regional availability and lead times can stretch timelines, so order early if you’re planning a summer installation.
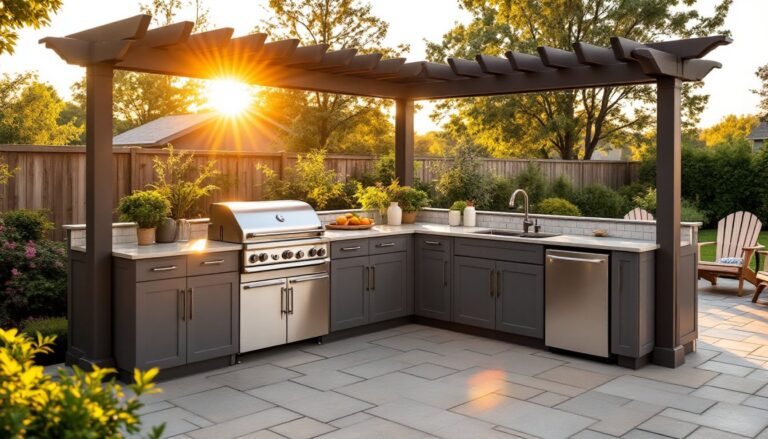
Planning Your Layout And Design
A well-planned layout maximizes workflow and safety. Position your Traeger as the centerpiece, then arrange your work zones around it.
Work Zone Layout:
- Prep zone (counter space to the left or right: minimum 24 inches wide)
- Cooking zone (the Traeger, with clearance for the door to open fully)
- Staging zone (counter for plated food and serving items)
- Storage (cabinetry below for pellets, tools, and grilling accessories)
Consider traffic flow. Position the grill where guests and the cook don’t collide. If your patio is small, a linear layout (grill on one end, prep on the other) works better than an L-shape.
Height matters too. Countertops are typically 36 inches from ground to work surface: your Traeger should align or sit slightly lower so you’re not reaching up awkwardly. Sketch your layout to scale before breaking ground. Many DIYers find that outdoor kitchen ideas on a budget inspire creative solutions for maximizing limited space.
Installation Best Practices And Safety Considerations
Installation requires careful planning and, in many cases, professional help.
Before You Start:
- Check local building codes and zoning laws. Some jurisdictions require permits for permanent outdoor structures and electrical work. Failure to obtain permits can create liability issues and complicates future home sales.
- Verify setback distances from property lines (typically 5–10 feet: varies by location).
- Have a licensed electrician install the GFCI outlet. Outdoor circuits must meet NEC (National Electrical Code) standards.
Foundation & Framing:
- Lay a concrete pad or gravel footing (4 inches minimum) to prevent settling and water damage.
- Frame the cabinet using pressure-treated lumber for all ground-contact members. Use 2×4 studs on 16-inch centers.
- Install the grill mounting brackets per manufacturer specs: these bolts secure the unit and prevent tipping.
- Add ventilation behind and above the grill (minimum 12 inches of clearance above the cooking grates per IRC standards).
Electrical & Venting:
- Run a dedicated 20-amp circuit for the Traeger’s controls and pellet auger.
- Install a hood or ensure open-air ventilation with no overhead structures that could trap heat.
Final Assembly:
- Secure all cabinetry with bolts, not just nails.
- Use stainless steel fasteners to resist rust.
- Apply outdoor-grade sealant to all exposed wood before finishing.
If you’re not comfortable with electrical work or structural framing, hire a contractor. This isn’t the place to cut corners. Resources like This Old House offer detailed renovation guidance if you’re tackling framing yourself.
Maintenance Tips To Keep Your Traeger Running Smoothly
A built-in Traeger needs regular care to stay reliable and safe.
Monthly Tasks:
- Empty the grease bucket (usually mounted below the firebox).
- Inspect the firebox for grease or pellet dust buildup: brush clean with a grill brush.
- Check the grates and heat deflector for warping or debris.
Seasonal Tasks:
- Inspect weatherproofing on cabinetry and countertops after winter or heavy rain: reseal cracks promptly.
- Test the electrical outlet with a multimeter to confirm power and grounding.
- Protect the grill with a fitted cover during off-season (at least 6 months in cold climates).
Annual Tasks:
- Professional inspection (optional but recommended: a technician checks ignition, auger, and seals).
- Reapply sealant to wood cabinetry if weathering is visible.
- Clean or replace the pellet hopper filter if your unit has one (prevents dust from clogging the auger).
Use only food-grade pellets made for Traeger grills. Off-brand pellets can contain fillers that gunk up the auger. Store pellets in a dry location, moisture degrades performance. When combined with thoughtful design, these practices ensure your custom outdoor living space remains functional and attractive for years.
Conclusion
A built-in Traeger outdoor kitchen is a substantial but rewarding project. By choosing the right model, planning a logical layout, following safety codes, and committing to maintenance, you’ll create a durable cooking space that elevates entertaining and adds real value to your home. Start with solid research, don’t rush permits or electrical work, and you’ll be grilling confidently for years to come. For inspiration on what’s possible, explore Southern Living outdoor designs and the Traeger Timberline XL review to see how others have integrated pellet grills into their homes.