Table of Contents
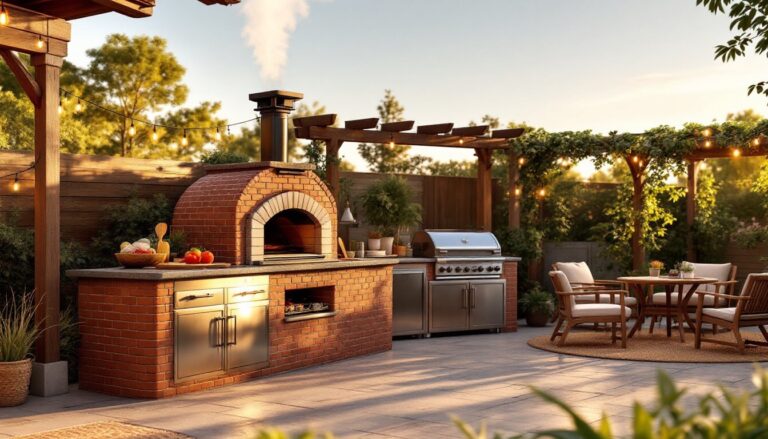
ToggleBuilding an outdoor kitchen metal frame transforms your backyard into a functional cooking and entertaining space. A metal frame provides durability, weather resistance, and structural integrity that wood alone can’t match, especially in variable climates. Whether you’re planning a compact grilling station or a full outdoor kitchen with multiple zones, understanding how to construct a solid metal frame foundation is essential. This guide walks you through material selection, tool requirements, and step-by-step assembly so you can create a sturdy, long-lasting outdoor kitchen metal frame that’ll serve your family for years.
Key Takeaways
- Metal frame construction outperforms wood by resisting rot, moisture damage, and warping while handling the weight of stone countertops and stainless steel appliances without sagging.
- Aluminum with bolted connections suits most DIY projects due to rust-free maintenance, while steel tubing offers maximum strength but requires proper welding and protective finishing like epoxy primer and polyurethane topcoat.
- Precision layout and measurement are critical—ensure diagonal measurements are equal, verify the base is level within 1/4″, and use stainless steel 3/8″ diameter bolts with washers for weather resistance.
- Cross-bracing with diagonal tie rods or gusset plates is essential for outdoor kitchen metal frames spanning over 3 feet to prevent racking and twisting under load.
- Invest in safety gear including cut-resistant gloves, dust masks, and eye protection when cutting and finishing metal, as burrs and sharp edges present serious hazards.
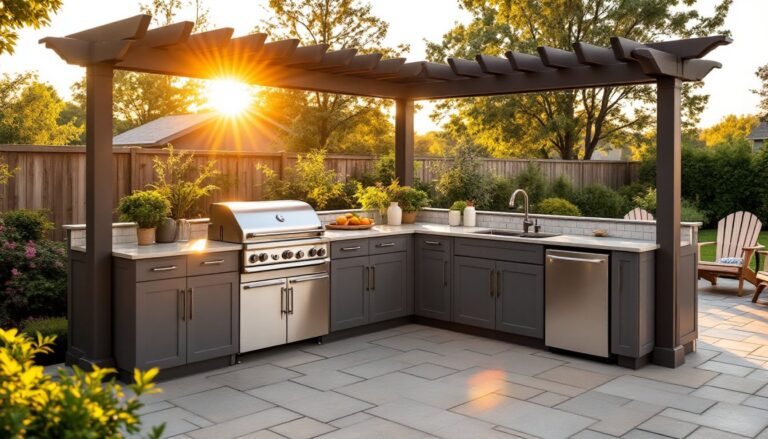
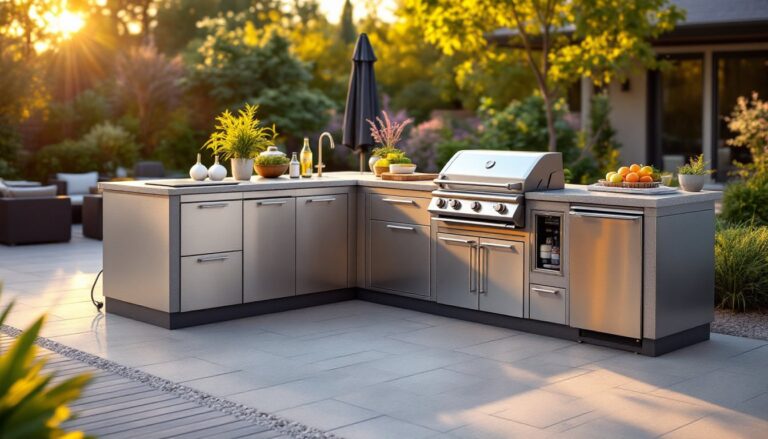
Why Choose a Metal Frame for Your Outdoor Kitchen
Metal frames outperform wood in outdoor environments because they resist rot, termites, and moisture damage. Steel and aluminum won’t warp, split, or splinter as wood does when exposed to rain, UV rays, and temperature swings. A properly constructed metal frame also handles the weight of stone countertops, stainless steel appliances, and heavy cookware without deflecting or sagging.
Metal frames are also modular and forgiving. If you need to adjust cabinet heights, swap components, or add shelving later, bolted connections let you do that without compromising structural integrity. The frame stays hidden behind cladding, stainless steel panels, or masonry veneer, giving you design flexibility while keeping the workhorse skeleton intact.
Selecting the Right Metal and Materials
Steel vs. Aluminum: Durability and Weather Resistance
Steel is stronger and stiffer than aluminum, making it ideal for heavily loaded countertops and large appliance cavities. Hot-rolled steel tubing (like 2×2″ or 2×4″ rectangular tube) resists deflection under weight. The downside: steel rusts if not treated. You’ll need to either weld it, apply two-part epoxy primer and polyurethane topcoat, or use weathering steel (Corten) that develops a protective oxide layer.
Aluminum is lighter, won’t rust, and requires minimal finishing. 6061-T6 aluminum alloy (the standard for structural work) handles outdoor conditions and costs less to maintain. It’s weaker pound-for-pound than steel, so you may need thicker wall tubing or more support members to handle the same load. Aluminum also can’t be welded as easily by most home DIYers, you’ll likely need to bolt or rivet connections instead.
For a DIY project, aluminum with bolted connections often makes sense. You’ll avoid rust concerns and can disassemble if needed. If you’re comfortable welding and committed to finishing steel properly, schedule 40 steel tubing gives you maximum strength in a compact profile. Budget for paint or powder coating if you choose steel, this isn’t optional in damp climates.
Essential Tools and Supplies You’ll Need
You’ll need a tape measure, pencil, and carpenter’s square for layout. A miter saw or chop saw cuts metal tubing cleanly at angles. A reciprocating saw with metal-cutting blades works if you don’t have a dedicated metal chop saw. A drill-driver and drill press (or hand drilling) create bolt holes. A socket set (1/4″ through 1″ drive) helps you tighten bolts and hardware.
For finishing, gather carbide or HSS drill bits for metal, degreaser, coarse and fine sandpaper (or a wire wheel), and primer plus polyurethane topcoat if you’re painting steel. A level is non-negotiable, outdoor appliances and water drainage demand accuracy.
Safety gear includes safety glasses, work gloves (cut-resistant), dust mask or respirator for grinding and sanding metal, and hearing protection if you’re using power tools or angle grinders. A first aid kit belongs nearby: metal burrs and sharp edges are unforgiving.
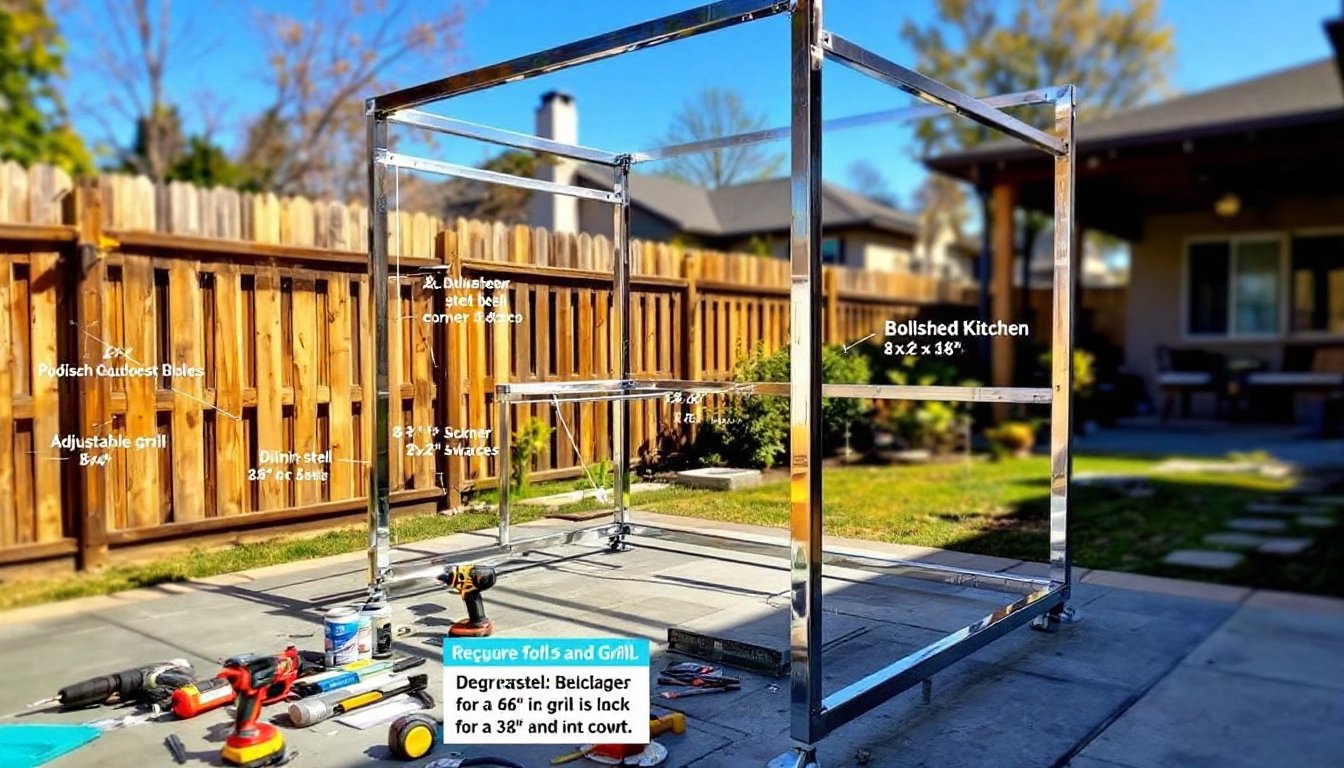
Step-by-Step Frame Construction Process
Planning Your Layout and Taking Measurements
Start with a scale drawing of your outdoor kitchen on graph paper or digital sketch. Note appliance dimensions, a standard grill is 30″ to 36″ wide, a cooktop 24″ to 36″, and a refrigerator 24″ to 30″. Add workspace on both sides (24″ minimum) and measure the exact distance from your back patio edge to your deck post or property line.
Once you’ve locked in dimensions, lay out the actual frame footprint with chalk or rope on the ground. This is where most projects succeed or fail. Take diagonal measurements, they must be equal for a rectangular frame. Install shims or adjustable feet so the base level sits on uneven ground. Metal frames are less forgiving than wood: a 1/2″ slope matters when doors and drawers need to function.
Order or cut all horizontal and vertical members to exact length before assembly. Mark each piece with a permanent marker so you don’t mix up parts. If you’re having metal cut at a shop, request burrs be deburred (smoothed) at purchase, saves hours of hand work and prevents cuts.
Assembling and Securing the Metal Frame
-
Lay out the base frame first. Position the perimeter members on the ground and use a level to verify it’s flat within 1/4″ across the entire footprint. Clamp corners temporarily.
-
Drill bolt holes at corner and mid-span connections. Use a drill press or hand drill with a center punch to mark holes and prevent slipping. Aluminum and steel require different bit speeds, check tool manuals. A 2″ or 2.5″ hole spacing is standard for strength and aesthetics.
-
Insert and tighten bolts. Use stainless steel 3/8″ diameter bolts with washers and lock washers for weather resistance. Tighten with a socket wrench in a cross pattern (opposite corners first) to distribute pressure evenly. Don’t over-tighten, you’ll strip threads or crack aluminum.
-
Add vertical stiles for the cabinet sides. Space them 24″ to 36″ apart depending on door widths. Secure top and bottom stiles to the base frame with bolts or welding. Verify plumb (vertical) with a level.
-
Install cross-bracing if your frame spans more than 3 feet horizontally. A diagonal tie rod or gusset plate prevents racking (twisting under load). This is especially critical if you’re mounting a heavy stone countertop or shelves.
-
Check all connections with a wrench before final tightening. Bolts will settle slightly, re-check after 24 hours of use.
Building a durable outdoor kitchen metal frame relies on precision and proper material choice. Whether you’re using aluminum or steel, avoid rushing assembly: tight, square connections prevent future settling and squeaking. Once your frame is complete and braced, you’re ready to add countertops, appliances, and weather-resistant cladding. For additional outdoor kitchen ideas, check out practical budget-friendly layouts that work with any frame design.
If you’re overwhelmed by welding or bolt tightening, don’t hesitate to hire a local welding or steel fabrication shop for assembly, they’ll deliver a square, level frame and save you time. Some homeowners pair a basic custom outdoor living setup with professional frame work, keeping sweat equity for finish carpentry and plumbing. For deep dives into advanced framing techniques, Fine Homebuilding and Family Handyman offer detailed guides on structural connections and load calculations. You’ll also find inspiration in products like the Q-Cina Outdoor Kitchen On Wheels, which features a tubular steel frame that demonstrates how professional designers achieve strength and mobility together.
Final Thoughts
A metal frame transforms a backyard dream into a structurally sound, weather-proof outdoor kitchen. Your investment in quality materials, careful measurement, and solid assembly pays dividends in durability and future modifications. Take your time, double-check before tightening, and don’t skip the finishing details, they’re what keep rust and weathering at bay for the next decade.