Table of Contents
ToggleOutdoor kitchens have moved beyond backyard fantasies into practical, everyday living spaces. Whether you’re grilling steaks weekly or hosting gatherings, the right outdoor kitchen cabinets anchor the whole setup. They store tools, protect cookware from the elements, and define your cooking zone. This guide walks through material choices, layout planning, installation methods, and maintenance so your investment holds up through years of sun, rain, and use.
Key Takeaways
- Outdoor kitchen cabinets anchor your backyard space by providing weather-resistant storage, defining cooking zones, and significantly increasing home appeal and property value.
- Choose outdoor kitchen cabinet materials based on climate and maintenance tolerance: stainless steel for durability and minimal upkeep, teak for natural beauty, or composite materials for affordability and ease.
- Proper installation requires a sloped concrete foundation, exterior-grade fasteners, marine-grade hardware, and complete waterproofing with UV-resistant caulk at every seam to prevent early failure.
- Regular maintenance—including monthly stainless steel cleaning, annual teak oiling, debris removal, and hardware inspections—extends outdoor kitchen cabinet lifespan to 10–15+ years.
- Plan your layout before installation by measuring space, positioning cabinets near utility lines, ensuring proper drainage, and considering shade to prevent uneven cooking and finish deterioration.
Why Outdoor Kitchen Cabinets Transform Your Backyard Space
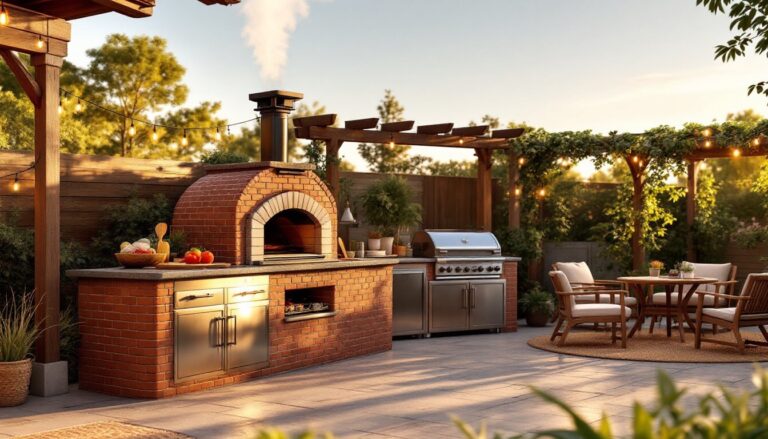
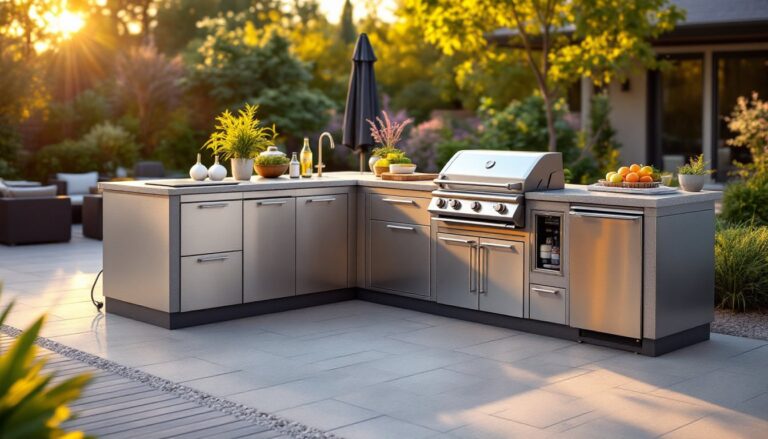
Outdoor kitchen cabinets aren’t just about aesthetics, they solve real problems. Without proper storage, your grill tools scatter across the garage, your propane tank sits exposed, and prep surfaces get cluttered. A well-designed cabinet system keeps everything within arm’s reach and shields equipment from UV damage, rust, and moisture. Cabinets also define functionality: they separate your grilling area from dining space, add counter surface for prep work, and provide a finished look that ties your outdoor room together. Unlike a standalone grill, integrated cabinetry transforms a collection of appliances into an actual kitchen. Beyond storage, quality cabinets increase your home’s appeal, potential buyers see an intentional outdoor living investment, not just a grill sitting on a patio.
Best Materials for Weather-Resistant Outdoor Kitchen Cabinets
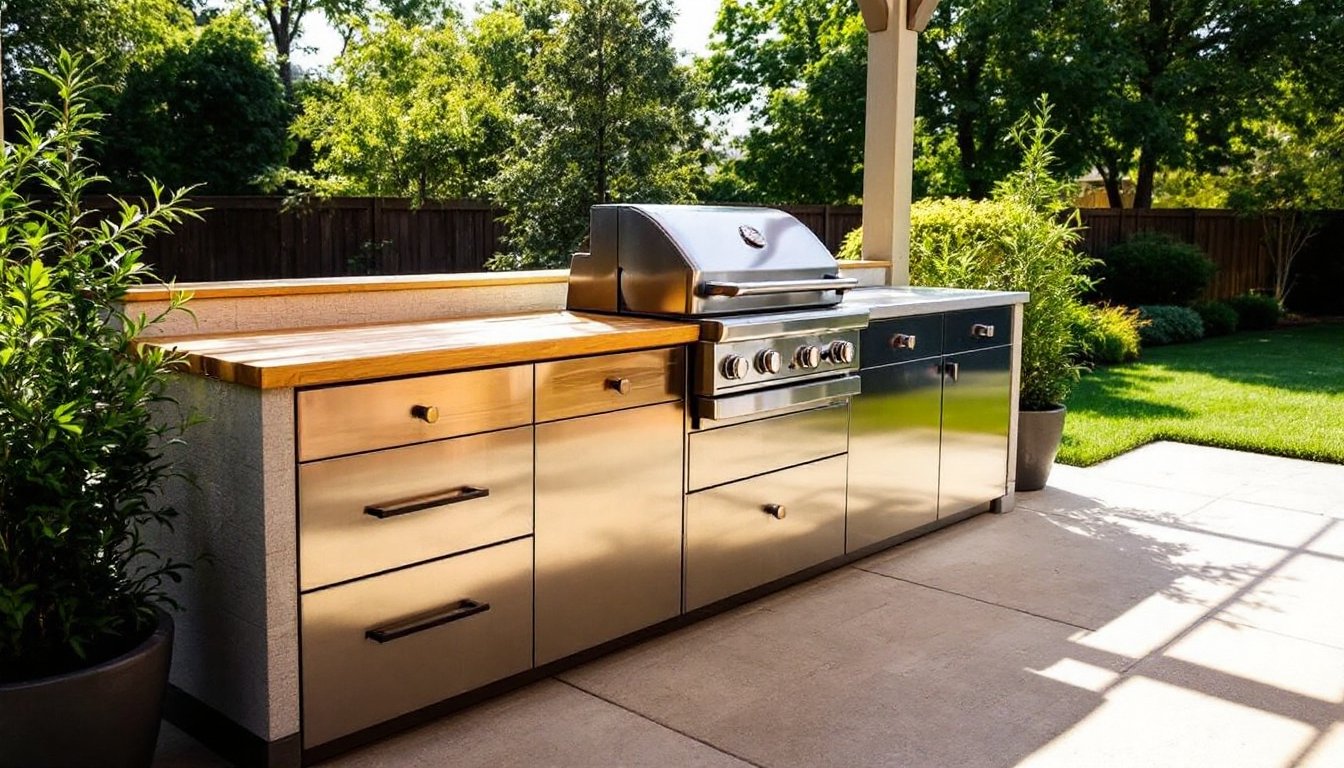
Outdoor cabinets face constant assault from humidity, temperature swings, UV rays, and salt air if you’re near the coast. Your material choice determines how often you’ll repaint, re-seal, or replace panels. Common options include stainless steel, teak, composite materials, and powder-coated aluminum. Each has trade-offs in cost, maintenance, and durability. Stainless steel is virtually maintenance-free and resists corrosion, but it costs more and shows fingerprints. Teak weathers to a silvery gray and doesn’t require staining, but it demands initial investment and occasional oiling. Composite materials resist rot and don’t need paint, making them low-maintenance for homeowners who’d rather grill than sand. Your choice depends on budget, climate, and how hands-on you want to be with upkeep.
Stainless Steel vs. Teak vs. Composite Materials
Stainless steel cabinetry (typically 304-grade for outdoor use) offers unmatched corrosion resistance and durability. Grade 304 contains chromium and nickel, which create a protective oxide layer preventing rust. Stainless won’t splinter, rot, or harbor insects, ideal for coastal or humid climates. Drawbacks include cost (often 50–70% higher than alternatives), fingerprint visibility, and the need for periodic stainless steel cleaner to maintain shine. Installation is straightforward since stainless resists warping from moisture and temperature changes.
Teak hardwood brings natural warmth and ages beautifully. Teak’s natural oils make it inherently resistant to rot and pests, so it doesn’t require constant sealing like pressure-treated lumber. Over time, teak silver-grays without darkening or deteriorating, many homeowners find this patina attractive. But, teak costs $8,000–$15,000+ for a built-in outdoor kitchen cabinet run, and it needs annual oiling to maintain color (optional but recommended). In wet climates, teak can still mildew on surfaces if not properly ventilated: you’ll want to apply a mildew-resistant sealer every few years.
Composite materials (engineered wood blends, recycled plastic lumber) combine wood-like appearance with rot and insect resistance. They don’t splinter, don’t need staining, and hold paint well. Composites cost $30–$50 per linear foot, roughly between teak and basic pressure-treated options. They resist moisture better than real wood but can still absorb water at edges if not sealed properly: always use exterior-grade caulk at joints. Some composites fade in bright sunlight, so choose UV-stabilized products. For low-maintenance DIYers, composites strike a practical balance.
Essential Design Considerations for Your Outdoor Kitchen Layout
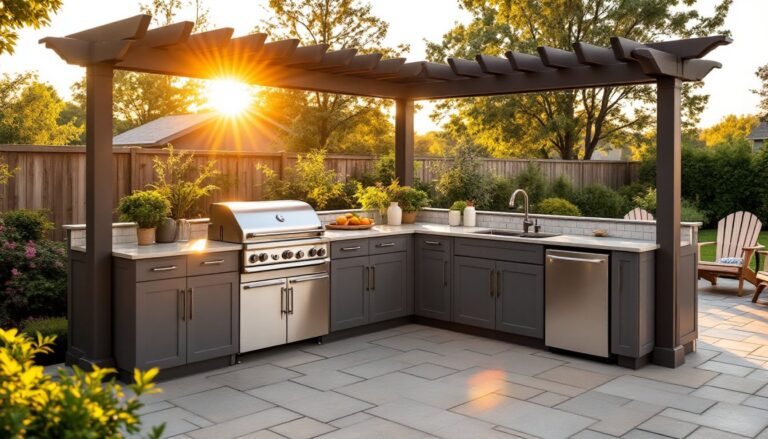
Before buying a single hinge, plan your layout on paper. Measure your space, note sun direction and prevailing winds, and identify where plumbing/electrical will run. Most outdoor kitchens follow the work-triangle principle: grill, sink, and cooler positioned to minimize movement during prep and cooking. Position cabinets where they won’t cast shadows over your dining area or block sightlines from your house. Check height: standard counters run 34–36 inches, but if you’re much taller or shorter than average, adjust. A 1–2 inch rise in counter height reduces back strain for taller users.
Consider access to utilities. If you’re running gas lines, water lines, or electrical for a range hood, plan cabinet placement near existing line runs, retrofitting later costs hundreds more. Ensure the base is level: sloped ground leads to water pooling and cabinet rot. Composite or stainless bases handle moisture better than wood. If your cabinet will house a trash bin or recycling, size the compartment appropriately and leave ventilation so odors don’t linger. Finally, think about shade, a grill positioned in full sun requires more frequent lid cleaning and may cook unevenly. A pergola or shade sail above your kitchen keeps temps down and protects finishes. Online outdoor kitchen planners and graph paper sketches prevent costly mistakes.
Installation Best Practices for Long-Lasting Results
Proper installation is where most DIY outdoor kitchen projects succeed or fail. Start with a solid foundation, ideally a concrete pad sloped 1/8 inch per foot for drainage. If building on sand or soil, pour a concrete foundation at least 4 inches thick and 6 inches larger than your cabinet footprint. This prevents settling and water damage.
Assemble the cabinet frame from treated lumber (2×4 pressure-treated studs) or metal framing if you’re concerned about rot. Space studs 16 inches on center to handle weight from granite or tile countertops and built-in appliances. Use exterior-grade screws (not nails) and stainless steel or hot-dipped galvanized hardware, regular hardware will rust and fail. When installing doors and drawers, use marine-grade hinges and ball-bearing slides rated for outdoor use.
Waterproofing is critical. Caulk every seam with exterior-grade, UV-resistant caulk before painting or staining. If your cabinet faces prevail winds or rain, install a proper roof overhang or rain cap. Ensure the base has ventilation holes (1/4-inch minimum) on at least two sides to allow air circulation and prevent moisture trapping. Seal all end grain and cut edges on wood cabinets, end grain absorbs water faster than face grain and will rot if left exposed. According to home improvement guides, skipping this step is a common reason for early cabinet failure. For composite or stainless cabinets, verify all fasteners are stainless or powder-coated to prevent rust spots. If the cabinet will be built-in to a house wall or pergola post, use flashing where it meets the structure to divert water away.
Maintenance Tips to Protect Your Investment
An outdoor kitchen cabinet lasts 10–15 years or more if maintained properly. For stainless steel, wipe down with a microfiber cloth monthly and use stainless steel cleaner every quarter. Check for salt residue (especially coastal homes) and rinse thoroughly. Teak benefits from annual oiling (use teak oil or natural linseed oil) and should be sealed every 2–3 years with marine-grade polyurethane or teak sealer. Don’t let fallen leaves sit in crevices: clean them out promptly to prevent mildew. Composite materials need little fuss, a rinse with a garden hose and occasional pressure wash (on low setting, 1,500 PSI or less) keeps them clean. Paint-finish cabinets should be repainted every 3–5 years depending on climate: sand lightly and prime before recoating.
Inspect drawer slides and hinges annually: corrosion here causes jammed doors and failed hardware. Replace any rusted fasteners with stainless alternatives. If you notice soft wood or spongy spots, address them immediately, localized rot spreads quickly in outdoor conditions. Seal small cracks or splits with exterior caulk before they become problems. Check ventilation holes aren’t clogged with debris: blocked airflow traps moisture inside cabinets. In winter, if you live in a freeze-thaw climate, open doors occasionally to let interior moisture escape. Some homeowners cover their cabinets with tarps in off-season: this works if the tarp allows airflow (avoid plastic that traps moisture). Regular inspections catch problems early when fixes are simple.
Conclusion
Outdoor kitchen cabinets transform a grill setup into a functional, weather-resistant cooking space. Choose materials suited to your climate and maintenance tolerance, stainless steel for durability and low fuss, teak for natural beauty and longevity, or composite for affordability and ease. Plan your layout carefully, ensure a solid foundation with proper drainage, and seal every seam during installation. Stick to annual maintenance checks and you’ll enjoy your outdoor kitchen for well over a decade. With the right approach, that investment pays dividends every summer.